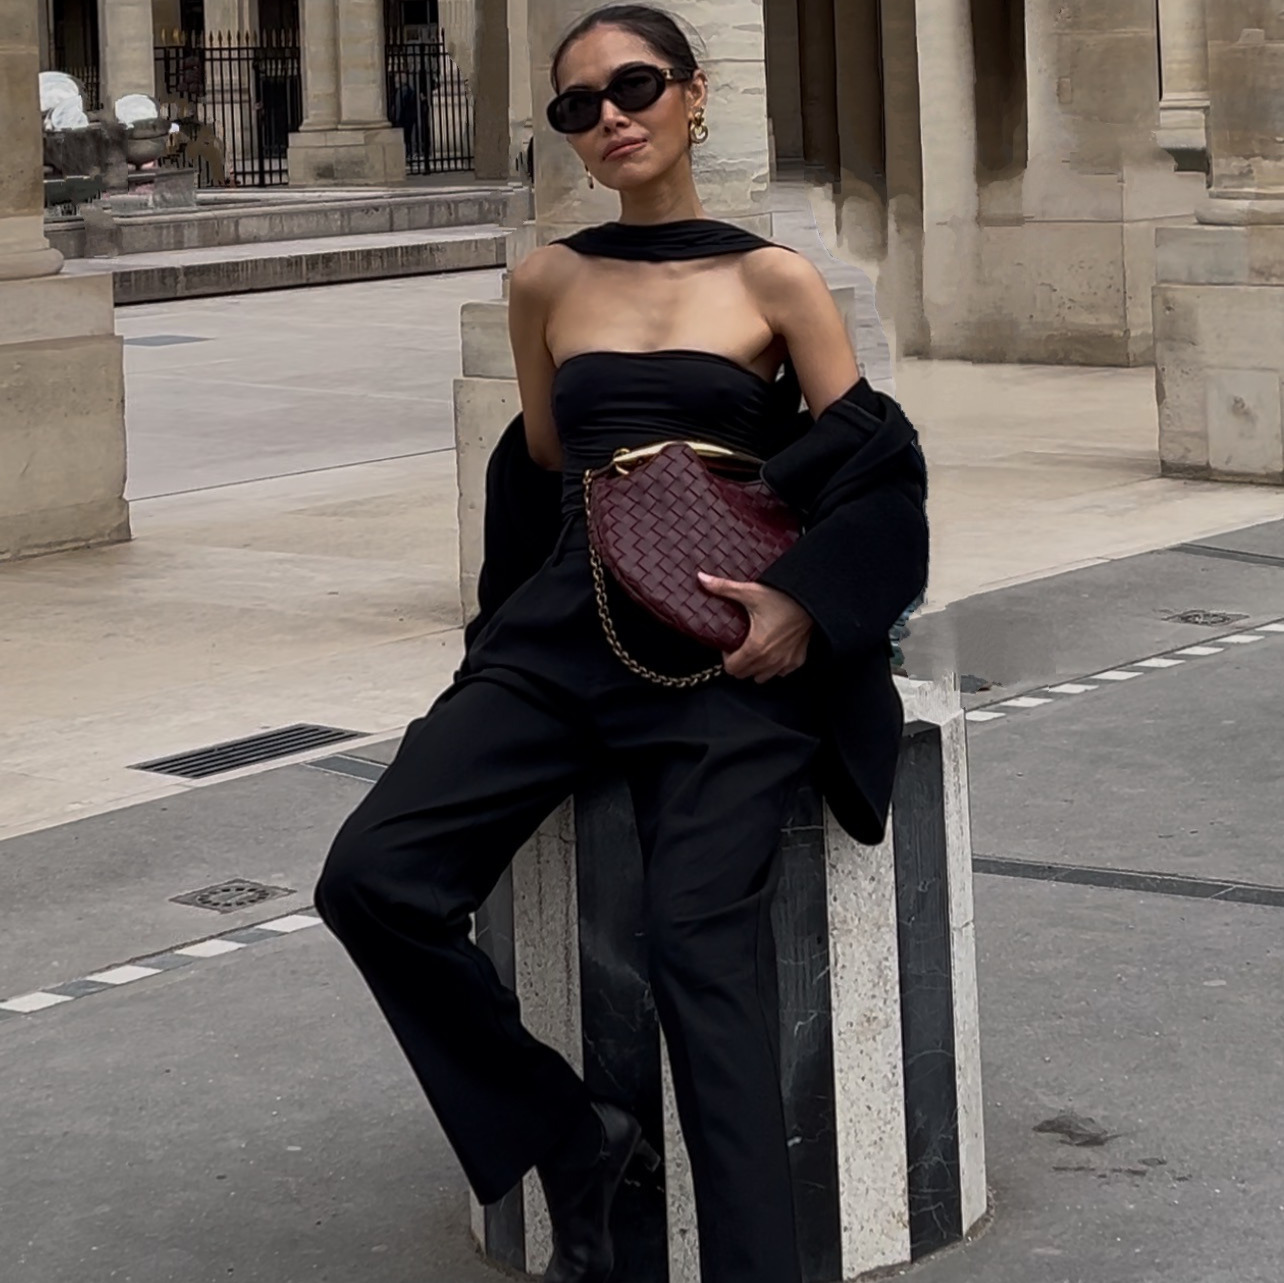
Every brand with a trained AI model eventually tries the same shortcut: attach a photo of the real product to the model and ask for both at once. It looks like it should work. It's one prompt instead of two.
It also produces the wrong product almost every time. A bag with a monogram that doesn't exist. A bottle with the wrong cap. A label that's close but not right. Not because the AI model is bad, but because you handed it two competing instructions in the same breath, and it can only fully listen to one.
The fix is a two-step order, not a better prompt. Generate the pose first, with nothing but words. Add the real product second, as its own separate step. Below is that exact sequence, plus the three shot list: full length, half body, product close-up, so one round of generation covers everything you'd normally shoot in a studio.
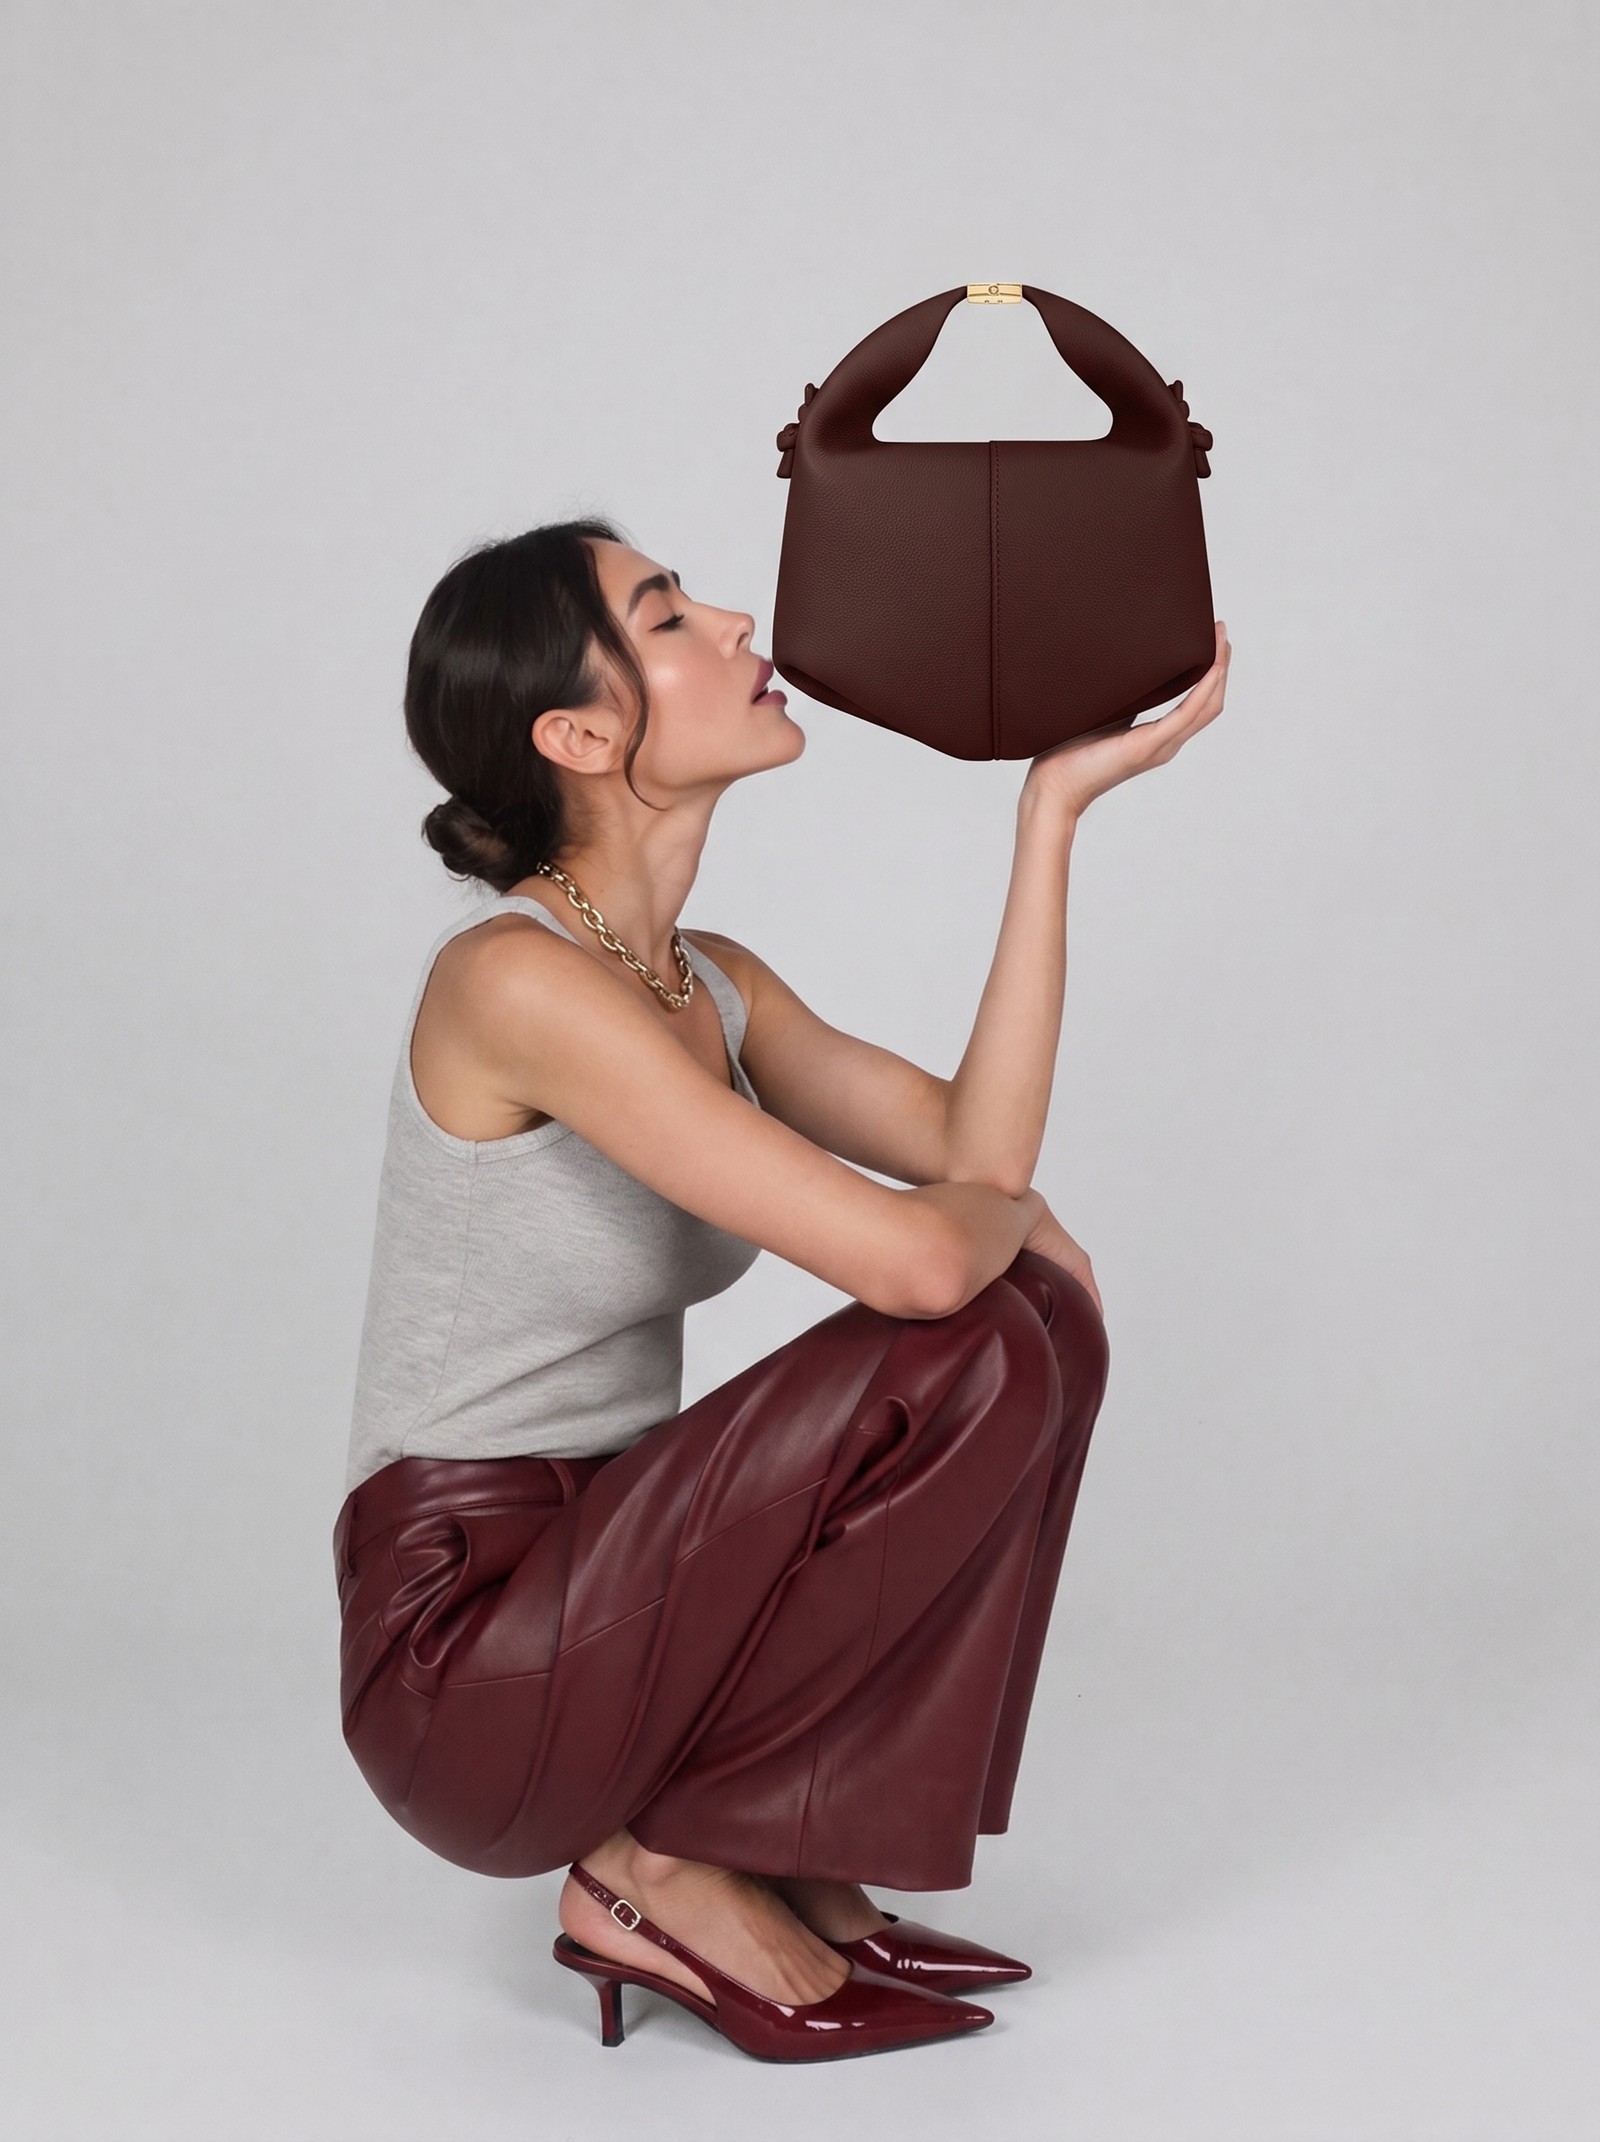
The finished shotReal product, exact color and hardware, on a trained AI model, from a text-only pose plus one compositing step.
The whole thing on one page
| Step | What you do | How long |
|---|---|---|
| 1 | Generate your model's pose with words only, no product photo attached | 2 min |
| 2 | Composite your real product into that pose as a separate step | 2 min |
| 3 | Repeat for each shot in your list, changing one clause at a time | 5 to 10 min |
| 4 | Match the aspect ratio to where the image is going | 1 min |
What do you need before you start?
- A trained AI model. A saved character or identity you've already built. This only works if your model exists as its own asset, not a one-off generation. If you don't know how to create an AI model, go here. Refine it.
- One clean photo of your real product. Straight-on, good light, nothing else in frame. This is the reference for step 2, never step 1.
- A decision about the shot list. Full length, half body, or a close crop on the product: pick which ones you actually need before you spend a single credit. Browse Pinterest or your favorite high-fashion magazine first. Look for the creative directions and campaign images you genuinely respond to and want to recreate. It's always good to shoot from a reference, not a blank page.
- Patience for exactly one extra step. The whole guide is one workaround: don't combine what belongs apart.
Why does the order matter?
An AI model and a product reference are both instructions competing for the same generation. When you attach a photo of your real product to a prompt that's also carrying your trained identity, most models quietly resolve that conflict by captioning the photo and using that instead of your words, which is why the product comes back almost right and never exactly right.
Separate the two jobs and the conflict disappears. Step 1 has nothing to look at but your words, so it renders the pose, the expression, and the framing exactly as written. Step 2 has nothing to reinterpret. It's told to keep everything from the first image and swap in the exact product from the second, which is a much narrower, much more reliable instruction than "here's a person and also here's a bag, generate a photo."
What's the shot list?
One pose, shot three ways, covers a full post: the wide establishing shot, the half-body detail shot, and the tight product crop that shows texture and hardware. All three come from the same Prompt 1 output, so your model's face, hair, and setting stay identical across the set. Only the framing clause changes.
| Shot | What changes in Prompt 1 | What it's for |
|---|---|---|
| Full length | framing: full length, product visible in context | The scroll-stopping cover shot |
| Half body | framing: half body, waist up, product held at chest height | The detail shot that shows how it's worn or held |
| Product close-up | framing: tight crop on hands and product only, face out of frame | The texture and hardware shot that sells the material |
Run Prompt 2 once per pose, swapping in the same product reference each time.
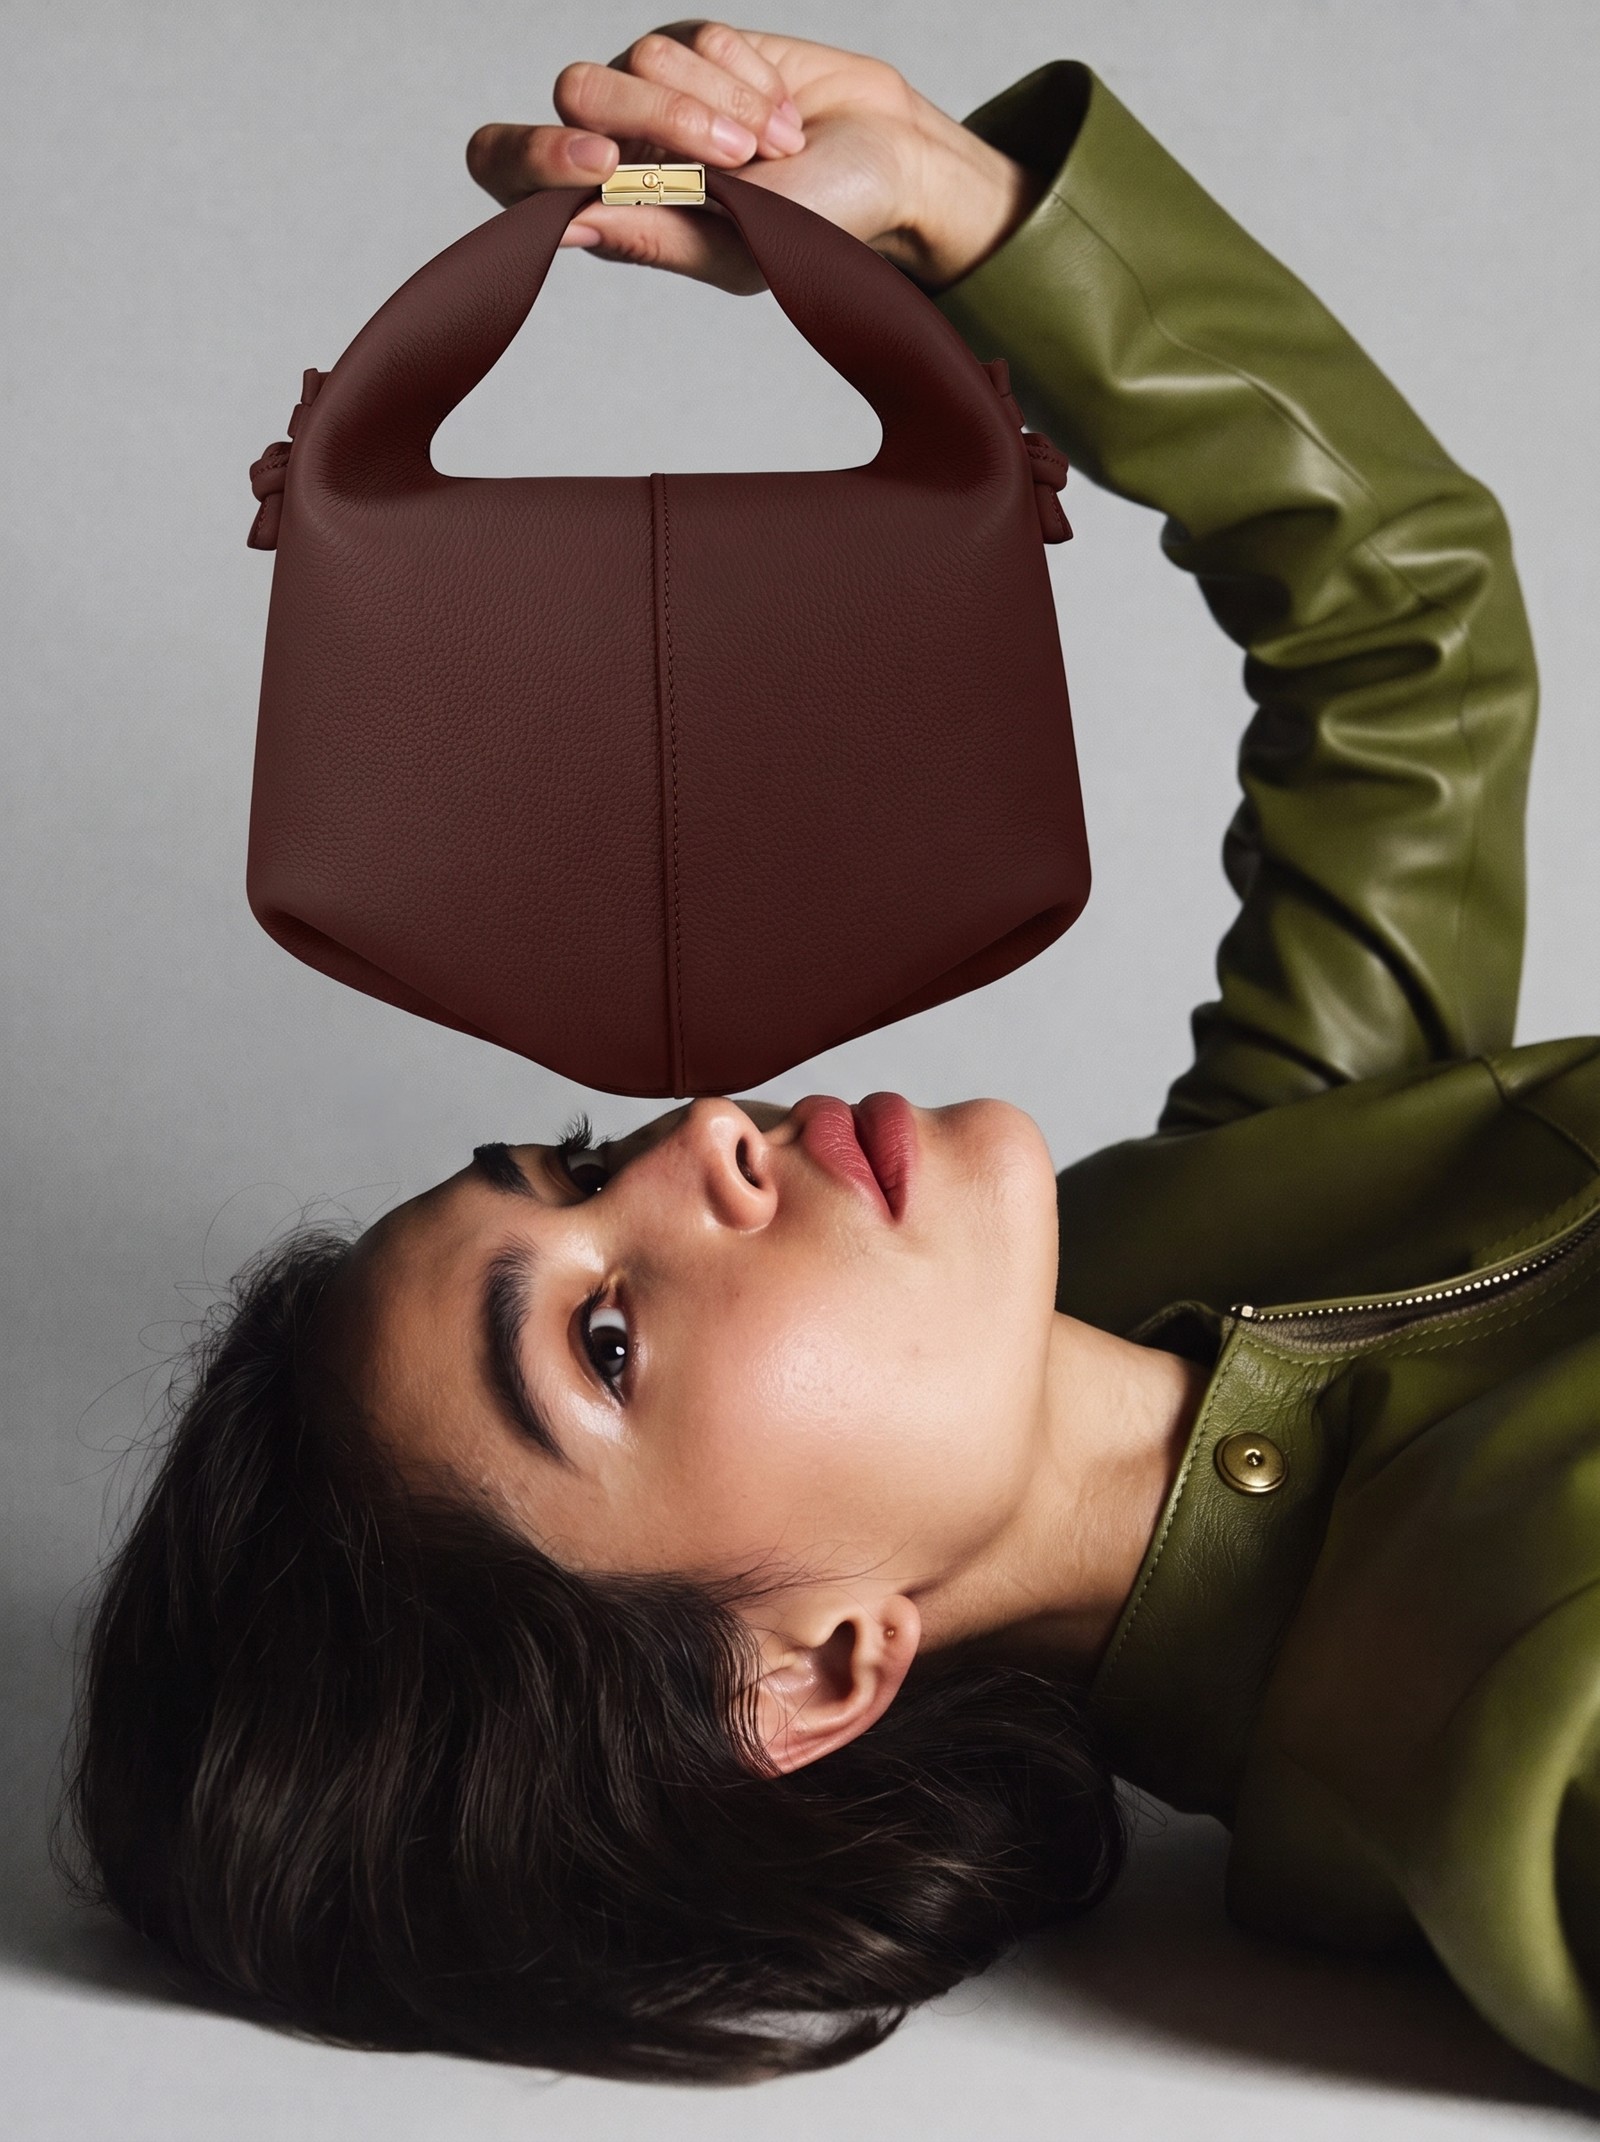
Half bodySame trained model, same product reference, framing clause changed only.
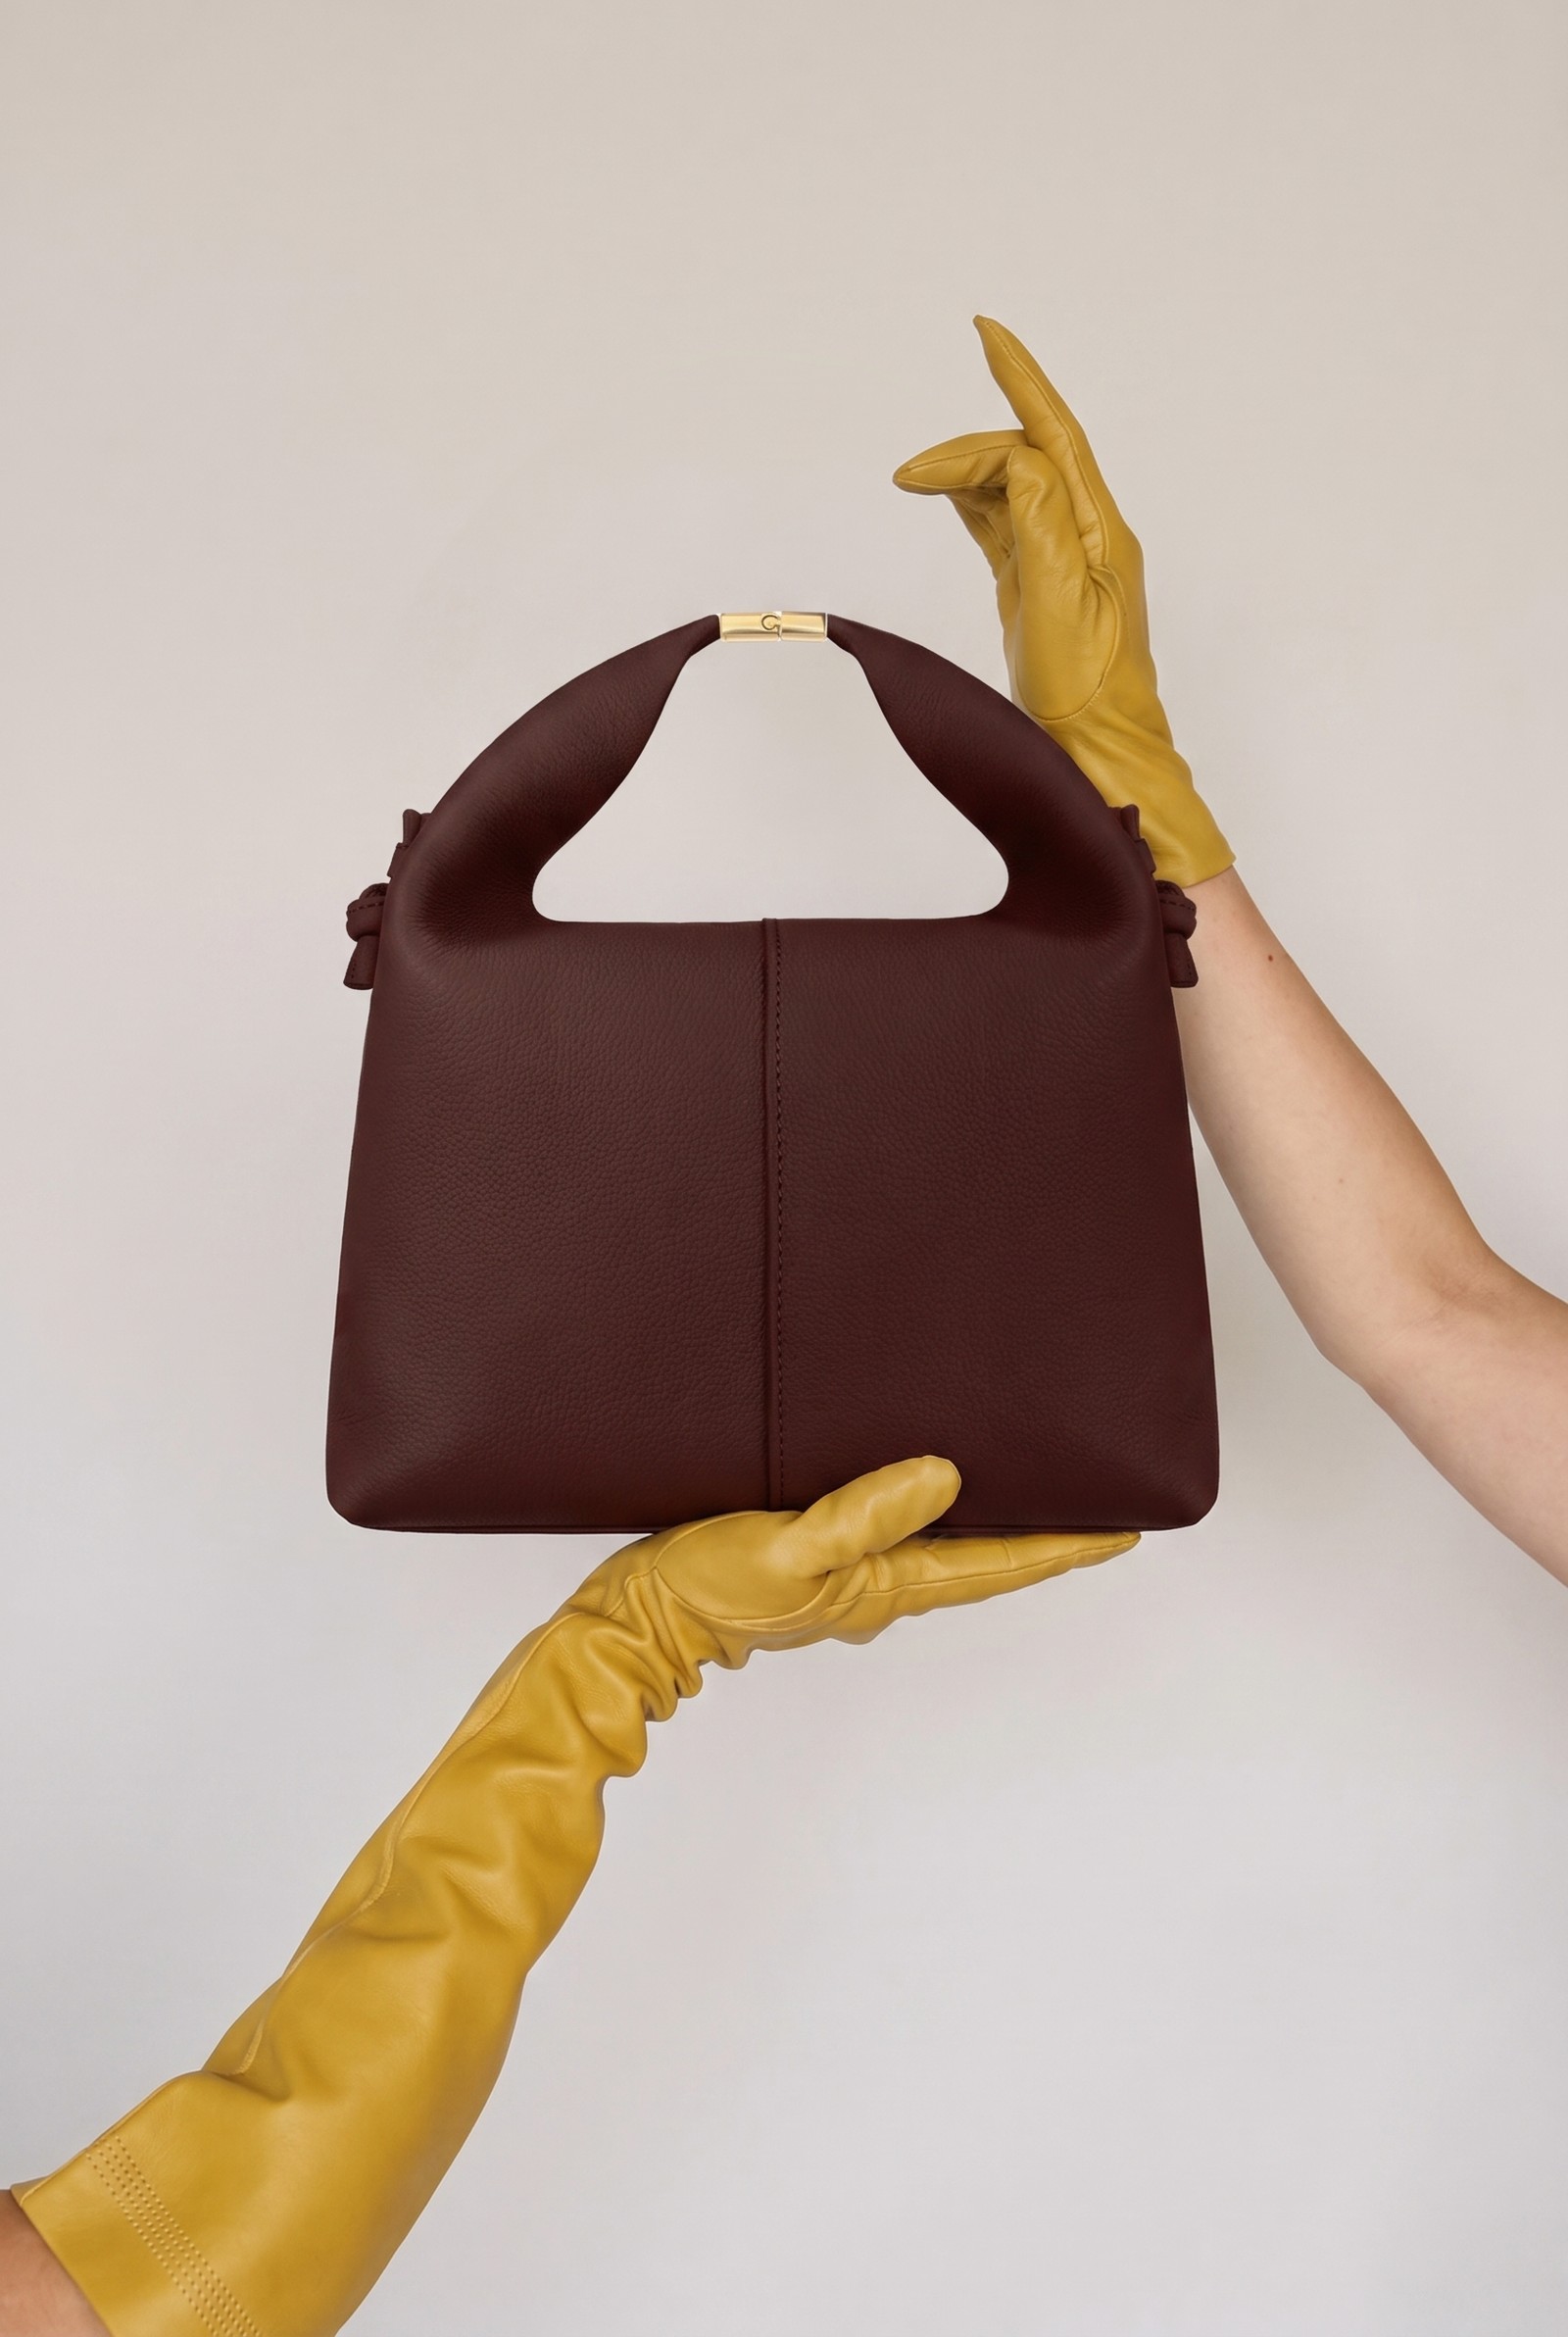
Full lengthThe wider establishing shot from the same two-step process.
What about the aspect ratio?
Match it to where the image is landing, not to a default.
| Platform / use | Aspect ratio |
|---|---|
| Instagram / TikTok feed | 4:5 |
| Instagram / TikTok Story or Reel cover | 9:16 |
| Pinterest pin | 2:3 |
| Product page hero | 3:4 or 1:1, depending on your template |
Set it before you generate. Cropping after the fact cuts into hands, product edges, and framing you already approved.
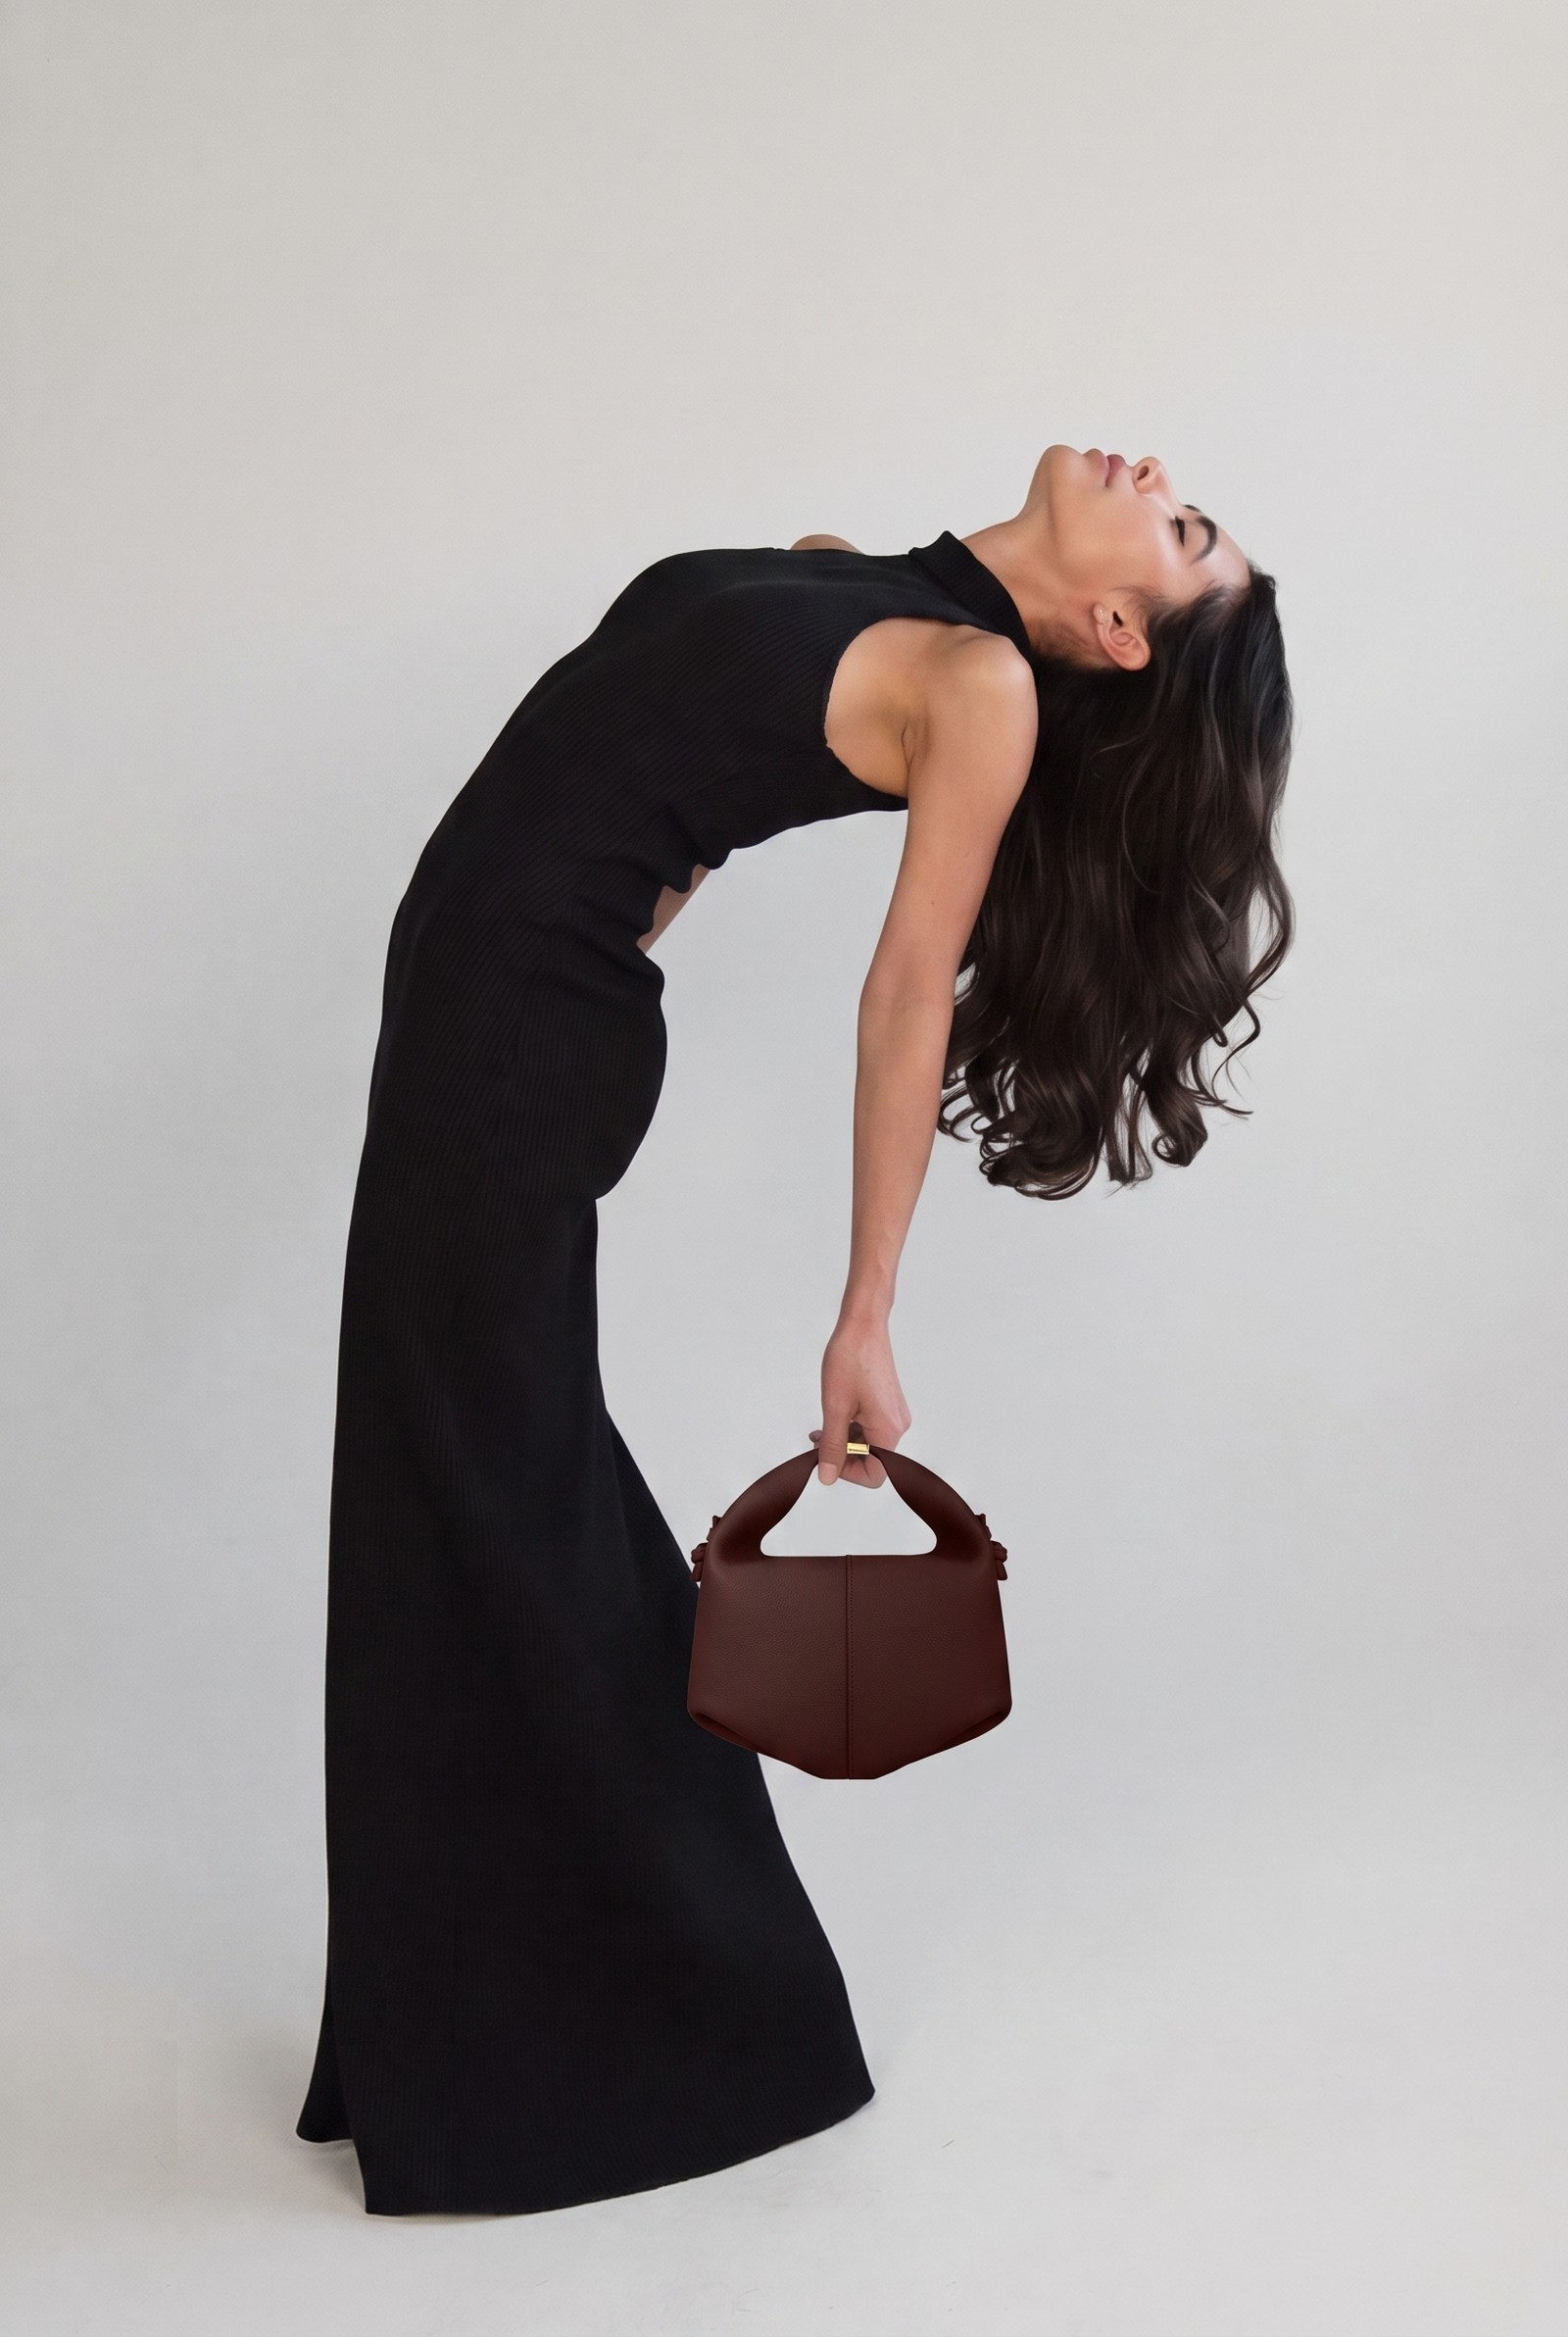
Product close-upSame method, tightest crop: the shot that sells material and hardware.
The checklist before you post
- Trained AI model asset ready, not a one-off generation
- One clean, well-lit photo of the real product, plain background
- Prompt 1 run with no product photo attached
- Prompt 2 run with both the pose and the product photo attached
- Logo, hardware, and color checked against the real product, not approximated
- Shot list covers what the post actually needs: full length, half body, close-up
- Aspect ratio matched to the platform before generating, not cropped after
Do I need a trained AI model to do this, or can I use any AI-generated person?
You need a saved, trained identity: a character your model system recognizes as the same person or asset across generations. A fresh one-off generation of a woman in a studio will not hold a consistent face or pose across your shot list, which defeats the point.
Why not just describe the product in words instead of using a photo?
Because words lose exact detail: the precise stitching, the correct logo placement, the true shade of a color. The photo is what makes step 2 accurate. The trick is not avoiding the photo, it is keeping it out of step 1.
What if step 2 still gets a detail wrong?
Make the instruction narrower, not longer. Replace the bag with the exact product shown beats a paragraph describing the bag. The reference photo is already carrying the detail, so the prompt's job is just to point at it correctly.
Can I chain this, using the output of step 2 as the input to a third edit?
Keep every edit anchored to the original pose and the original product photo, not to the previous output. Each additional generation compounds small drifts, and by the third pass a bag can gain a monogram that was never in your reference to begin with.
Does this work for any product, or just fashion and accessories?
The two-step order applies to anything with a real, exact appearance you need preserved: packaging, bottles, hardware, print. Fashion and accessories are just the case where the mismatch is most obvious to a viewer.