A packaging designer means a structural concept, print panels, and a brand application, and it means weeks of back and forth before you see a single render. Most e-commerce brands pay for that timeline because they think the alternative is a flat AI mockup with a warped logo bolted on.
This replaces the designer with Claude directing the photography and building your logo, your print panels, and your dieline separately in code, so nothing depends on an image model rendering text. The box you see throughout this guide was designed this way, start to finish, in one conversation.
You do this in plain English. Describe your box, hand Claude one reference image of the styling you want, and review the exact prompt before anything renders. That last part is the one that keeps this cheap: you are never paying for a guess.
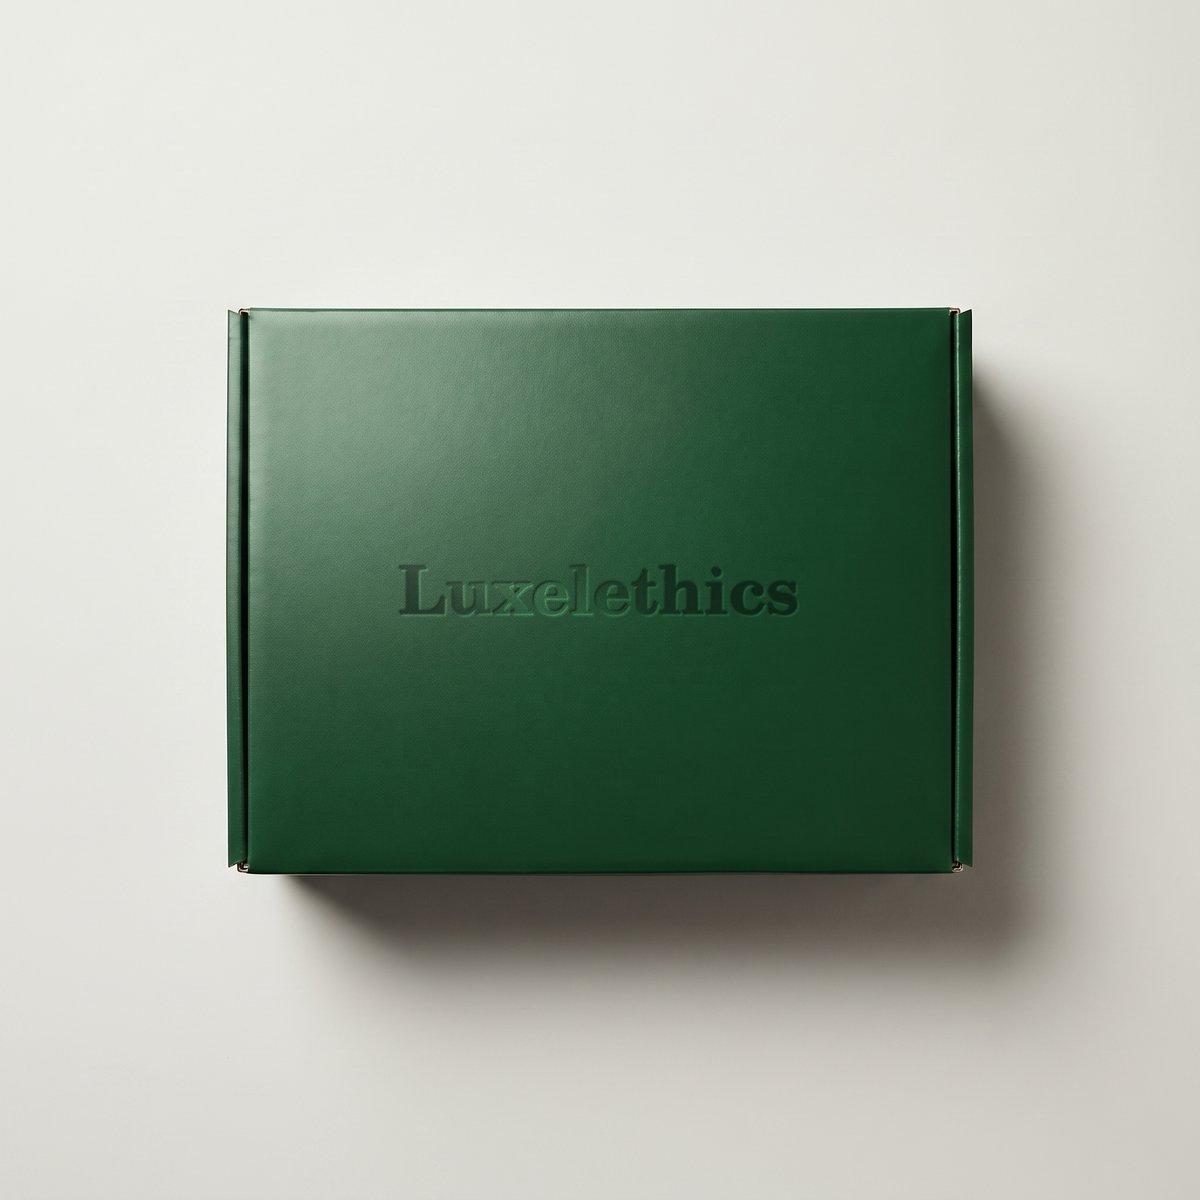
The finished boxEmbossed and glossed, from a blank render and a logo built separately in code.
The whole thing on one page
| Step | What you do | How long |
|---|---|---|
| 1 | Describe your box and give Claude one reference image of the styling you want | 5 min |
| 2 | Review the exact prompt Claude writes before anything renders | 2 min |
| 3 | Approve it and look at the blank box render | 2 min |
| 4 | Give one plain-English note if the render needs a change | 2 min |
| 5 | Ask Claude to build and place your logo directly, not through the image model | 5 min |
| 6 | Ask for the open reveal shot in the same style | 5 min |
What you need before you start
- One reference image of the packaging style you want copied. The color palette, the material, the lighting, the mood. Claude matches a style it can see far better than one it has to guess at from a description alone.
- Your box's actual dimensions. Decide these before you start. This is what makes sure the finished box actually fits your product, not just looks right in a photo.
- Your logo elements described in words. The exact wordmark spelling, the font style, any crest or mark. This is what gets built separately and placed, so write it down precisely.
- A decision on your box's base color and finish. Claude can only lock a look you have actually chosen. Deciding after the first render just costs you a second one.
How do you get a styled box photo without a product shot?
Give Claude one reference image of the styling you want and describe your own box in plain English. Ask it to show you the exact prompt before it runs anything.
Show me the exact prompt before you run it is the line that saves you money. Approving a written prompt costs nothing. Rerunning a guess does.
What if the first render looks too plain?
Say so in plain English, name the one thing you want changed, and ask to see the updated prompt before it runs again.
A plain-English note works better than a technical one. Describe what is wrong the way you would to a photographer, and let Claude translate it into the prompt change.
How do you get the open, reveal shot?
Ask for a companion shot of the same box, this time open, so a customer can see what is actually inside before you place it next to the closed hero shot.
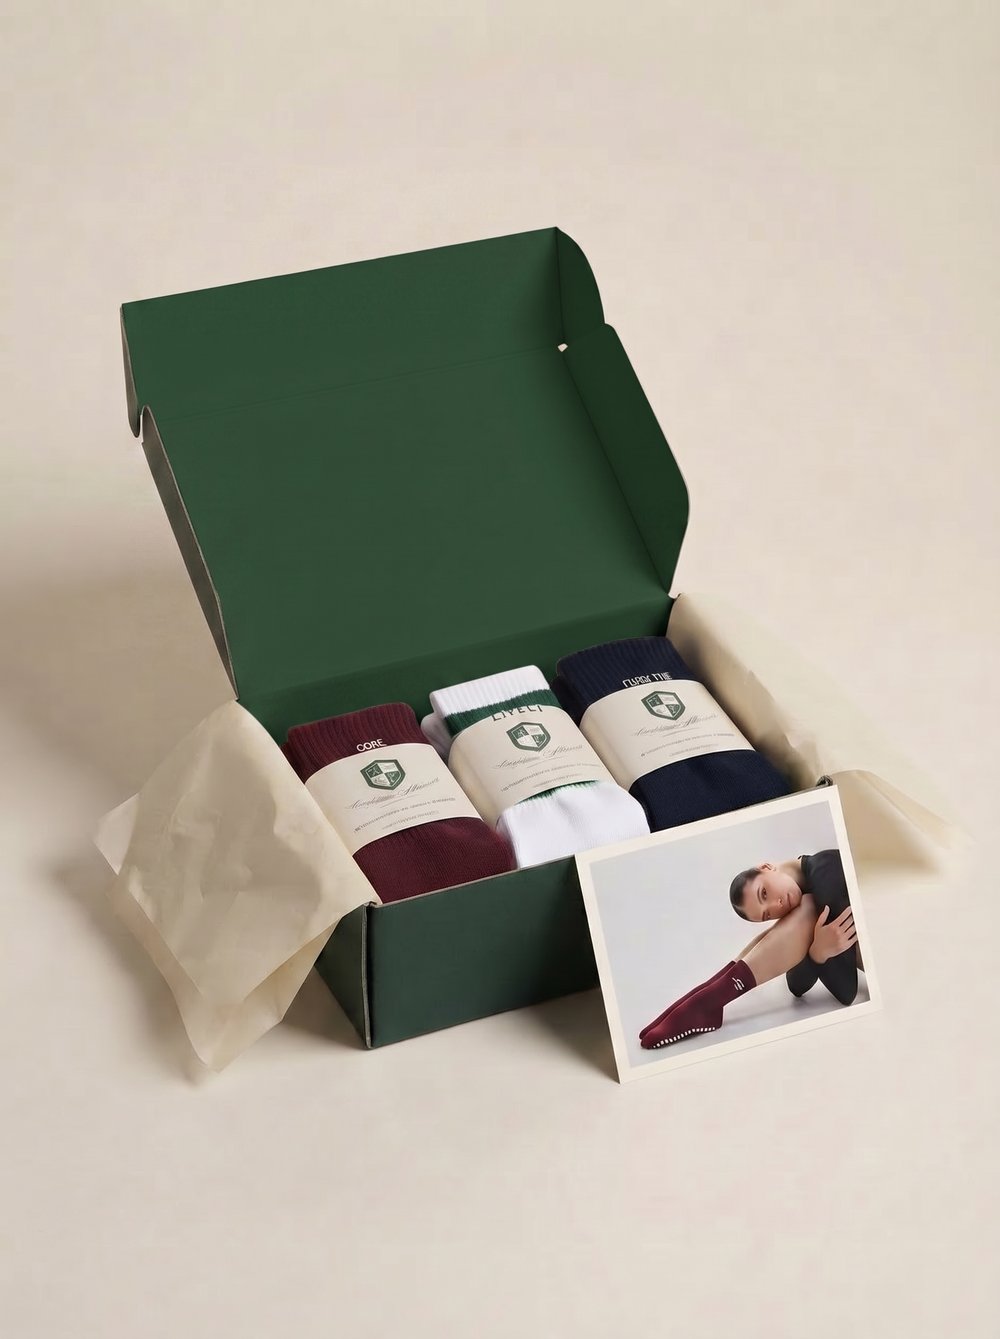
The open revealSame box, same color and finish, lid lifted to show what's inside.
How do you get your actual logo onto the box?
You do not ask the image model to render it. Image models garble text, so a wordmark comes back warped or misspelled more often than not. Ask Claude to build your logo separately and place it directly onto the finished photo instead.
The logo is placed, not generated. That is what keeps it from reading as AI-made. An image model asked to spell out a brand name will get a letter wrong somewhere. Building it separately and placing it is what makes it look manufactured instead.
Do you need print-ready panels too? Optional
Only if you are about to talk to a box supplier. Skip this if you only needed the photography.
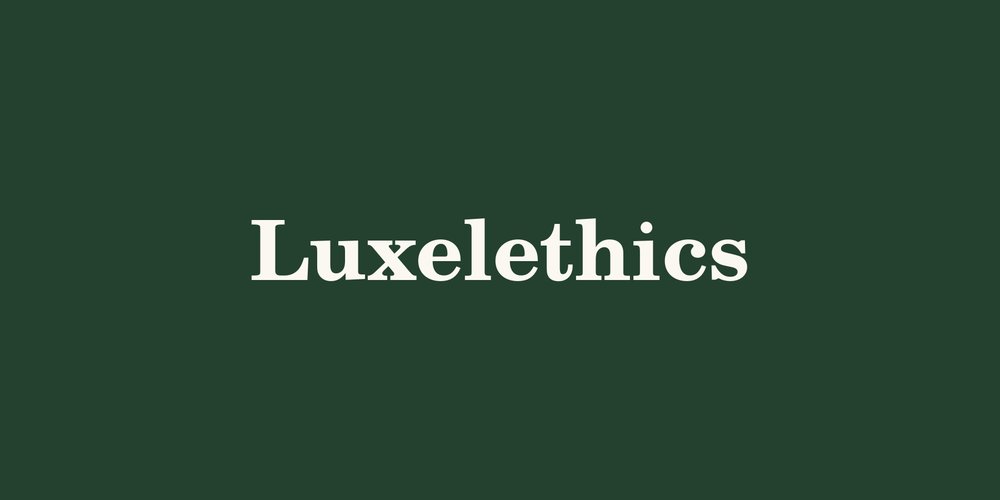
Front panelBuilt with code, not the image model.
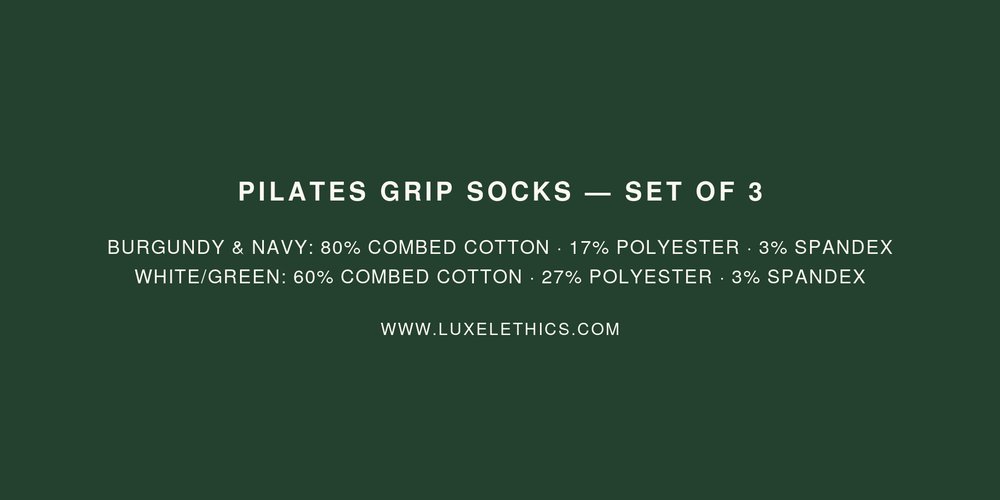
Back panelComposition copy and website, pulled from the real product.
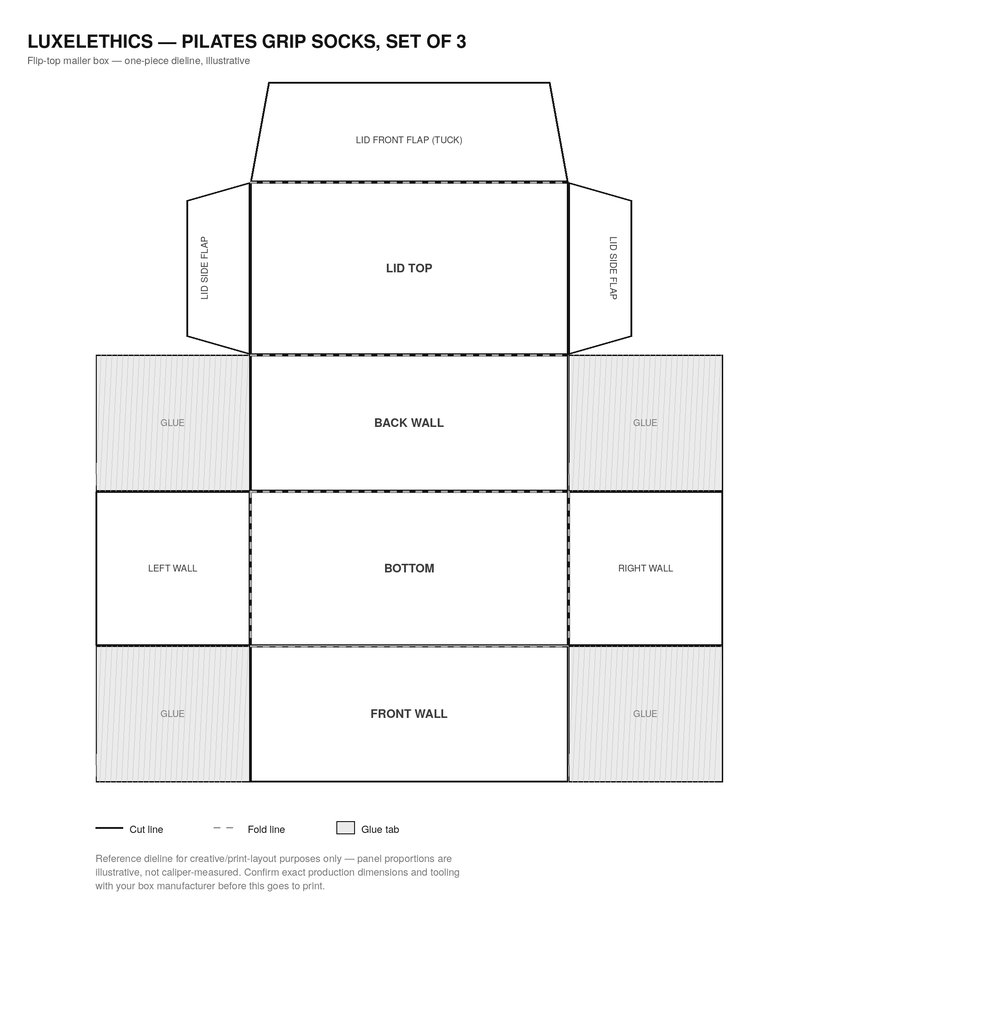
DielineA reference layout for your supplier conversation, not a certified die.
A dieline built this way is a starting point for a conversation, not a die. Confirm the real production dimensions with your box supplier before anything goes to print.
The prompt chain, in order
| # | Prompt | What you get |
|---|---|---|
| 1 | Closed box, blank, styled to your reference | A closed box render with no branding yet |
| 2 | Revise the exterior finish | A richer color, embossed and glossed to match your reference |
| 3 | Open box, reveal shot | A companion shot of the same box, open |
| 4 | Build and place your wordmark | The closed box with your logo built in, not rendered |
| 5 | Front panel, back panel, dieline, optional | Print reference layouts for your box supplier |
Five things that make the difference
Show Claude the prompt before it runs. Approving a written prompt costs nothing. Rerunning a guess costs a real generation.
Give one reference image, not several. One clear styling reference is easier for Claude to match than a set of options to choose between.
Never let the image model render your logo. Build the wordmark separately and place it, or it comes back warped or misspelled.
Ask for one change at a time. A single plain-English note, like wanting a different shade with a gloss finish, is easier to judge than several changes at once.
Check the finished box at full size. A logo that reads as debossed and glossy in a small preview can look flat once you actually look closer.
The checklist before you send this to anyone
- I gave Claude one reference image of the box styling I want
- I described my box's shape, color, material, and finish in plain English
- I reviewed the prompt before Claude generated anything
- I gave one plain-English note when the first render needed a change
- My logo was built and placed directly, not generated by the image model
- I checked the finished box at full size before calling it done
- If I needed print panels, I confirmed they are reference layouts, not certified production files
Do I need to hire a graphic designer for this?
No. Claude builds the box photography, the logo placement, and the print layouts inside the same conversation. A designer becomes useful once you are ready to finalize print-ready files with your box supplier, not before.
Will the AI put my logo on the box for me automatically?
No, and do not ask it to. Image models garble text and warp wordmarks. Ask Claude to build your logo separately and place it onto the finished photo instead.
What if my box does not exist as a real product yet?
That is fine. Describe the shape, material, and finish you want in plain English, give Claude one reference image for the styling, and it renders the form directly. Nothing physical needs to exist first.
Why ask Claude to show the prompt before generating?
Reviewing a written prompt costs nothing. Approving it before it runs means you are paying for a render you already checked, not a guess, and you catch a wrong detail before it costs you a generation.
What if the first version of the box does not look right?
Describe what is off in plain English, one change at a time, the same way you would give feedback to a photographer. Claude rewrites the prompt and shows you the new version before running it again.