Launches feel rushed because you cannot photograph a product that has not landed. So nothing gets made until the week it goes on sale, and then everything gets made at once, badly.
You do not need the shipment. You need the photo the factory already sent you, and one photo you can take on your phone in ten seconds. From those two images you can have a campaign banner, a waitlist page, a teaser post and a teaser email finished before the pallet clears customs.
Below is one built end to end, with every prompt written so you can paste it and fill in your own product.
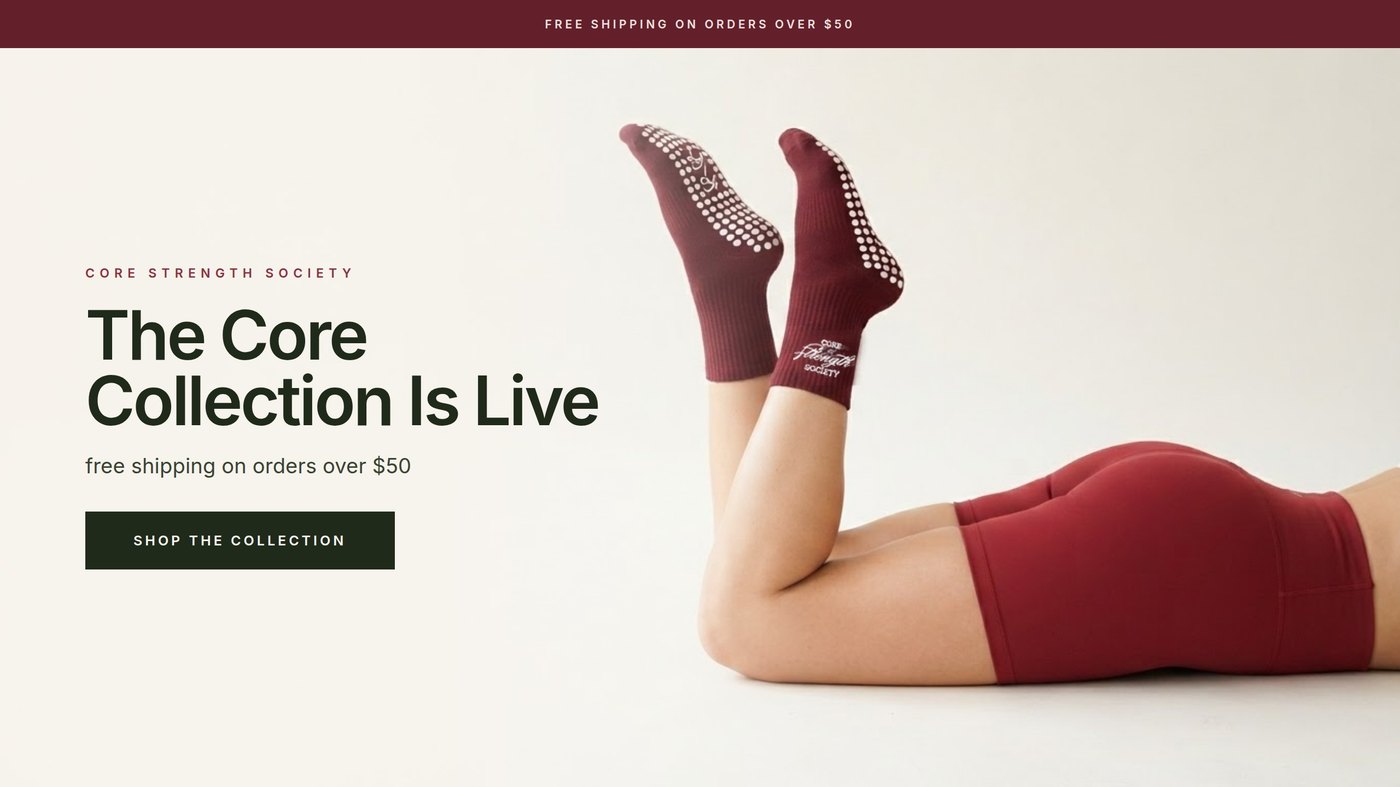
The finished bannerBuilt from a flat supplier photo of four socks lying on a warehouse floor.
What do you actually need to start?
Four things, and if you have a sample on your desk and a phone you already have three of them.
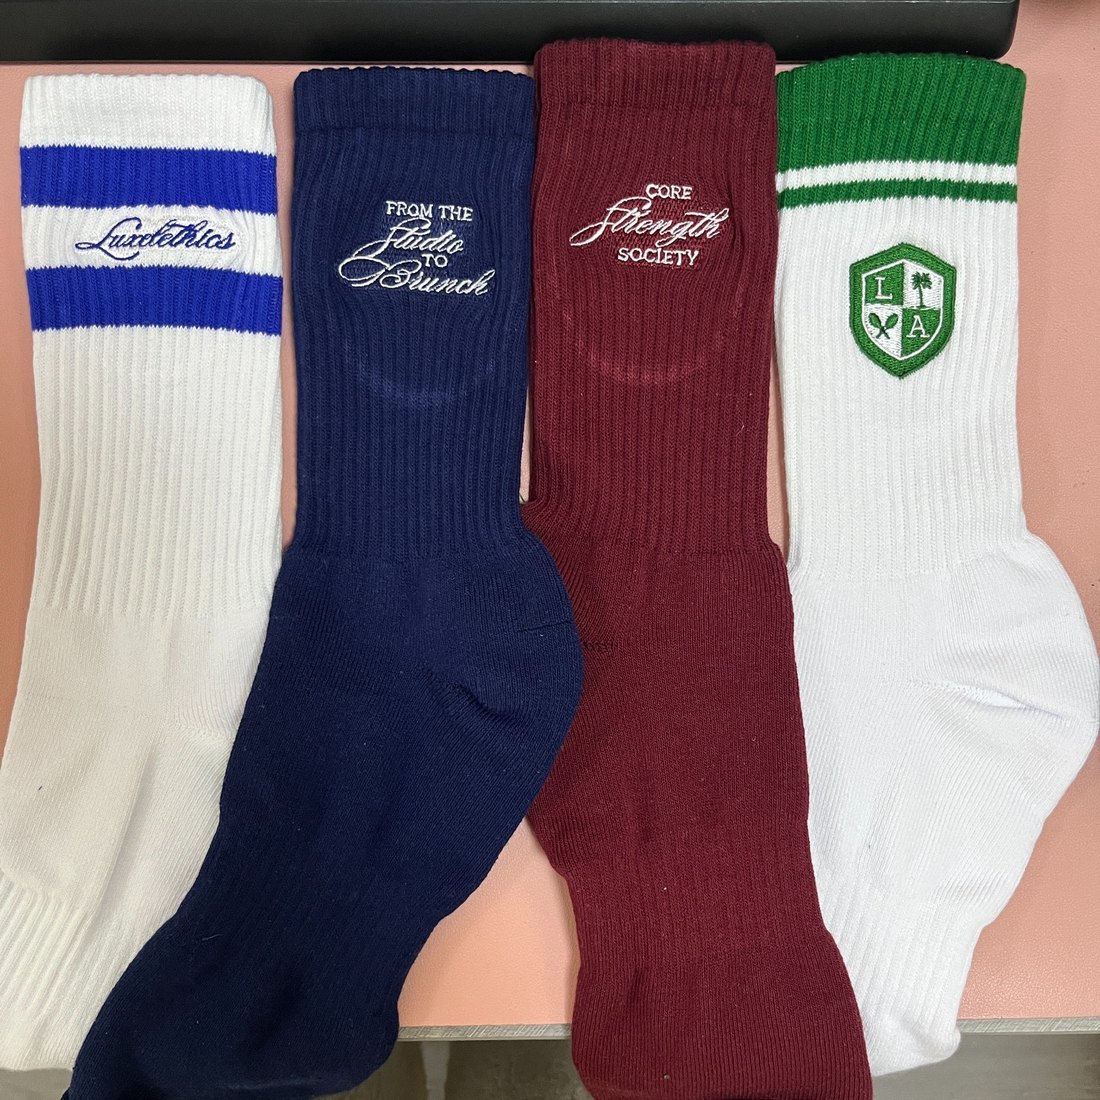
Photo one, from the factoryFlat, top down, unflattering. It does not need to be good.
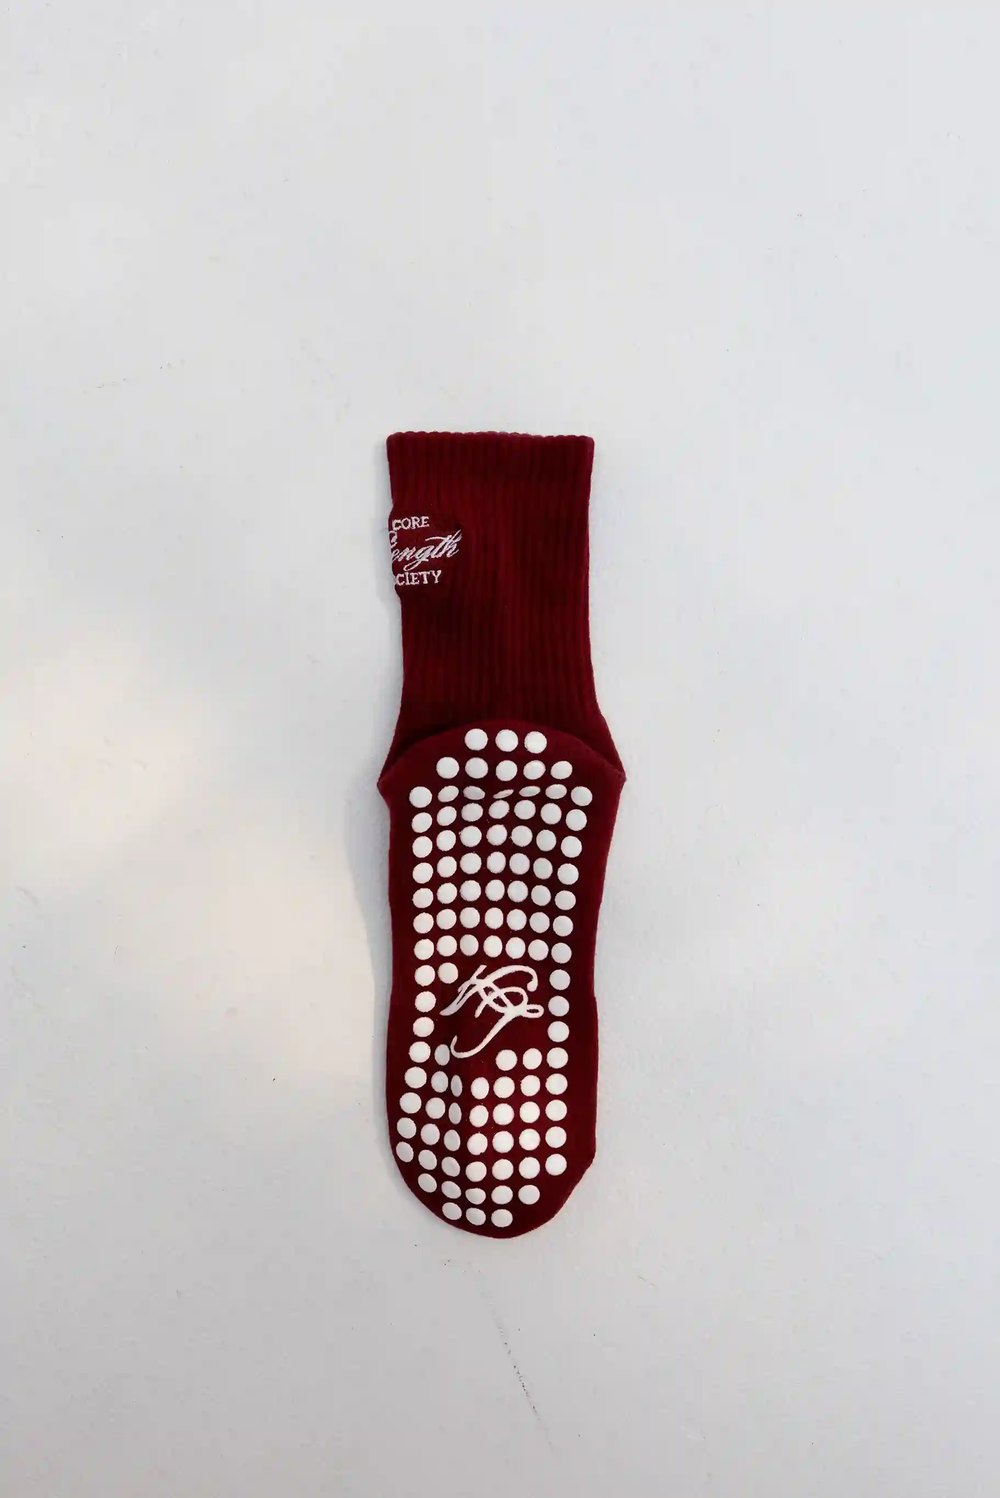
Photo two, from your phoneThe surface the factory shot never showed. Thirty seconds of work.
That second photograph is the one everybody skips, and it is the one that decides whether the result is usable. The supplier shot shows the socks from the top. The grip pattern lives on the sole. Without a photo of the sole, AI has no idea what your grips look like, so it invents some, and it puts them wherever it feels like, usually on the top of the foot.
Whatever your product is actually known for, if it is not in a reference image it will be invented. A candle's label, a bag's lining, the inside of a lid, the texture of a knit. Photograph it before you start.
You also need four inspiration images, one per asset. Screenshot the brands whose photography you already admire. You are not copying their product, you are copying their light, their crop, their pose and how much empty space they leave. That is your art direction, and handing it over is far faster than trying to describe a mood in words.
And you need Claude with Higgsfield connected. Claude does the layout, the copy and the prompt writing. Higgsfield takes the photograph. Keeping those two jobs separate is most of why this works.
The seven steps
In order. Each one is a single message.
Step oneUpload your factory photo
Put every reference you own into one folder and hand Claude the folder, not individual files. The supplier shot, your phone shot of the hidden side, and any other photo of the real product.
Here is the factory photo of my [product] and a phone shot of the [hidden detail]. These two images are the only source of truth for what the product looks like.
Step twoBring inspiration for each asset
Four images, one per asset, named so it is obvious which is which. Banner, waitlist, post, email.
These four images are my art direction, one per asset. Match the photography, never the product. The product stays exactly as it is in my reference photos.
That last sentence matters more than it looks. Inspiration images almost always show a different product in a different colour. Without the instruction, the model blends the two and you get your competitor's colourway on your silhouette.
Step threeWrite the copy, or have Claude write it
Decide the words before anything is designed. A headline, one supporting line and one button for each asset. If you would rather not write them, ask and edit what comes back.
Write the copy for all four assets. Headline, one supporting line and one call to action each. My launch date is [date] and my offer is [offer].
Step fourApprove the layout before any image exists
This is the step that saves the most money, and it is the one people skip. Claude builds every layout in code first, with an empty slot where the photograph will eventually sit. You approve the structure while changing it still costs nothing.
Build all four layouts with my copy in place and leave the photo slot empty. Show me before we generate anything.
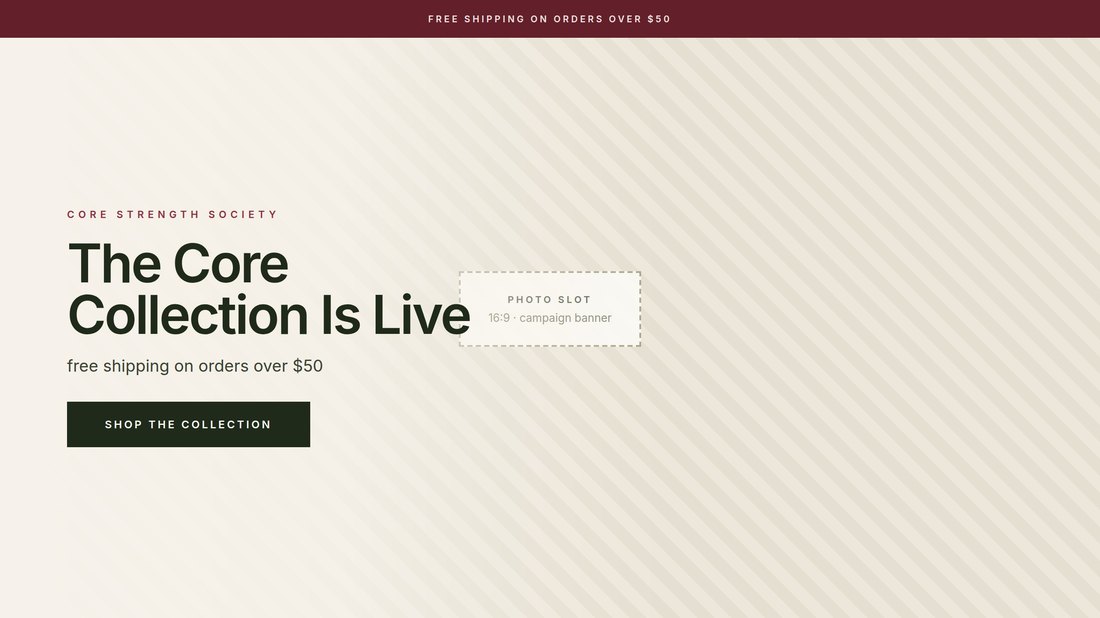
Banner, layout stageCopy set as real type. Photograph still to come.
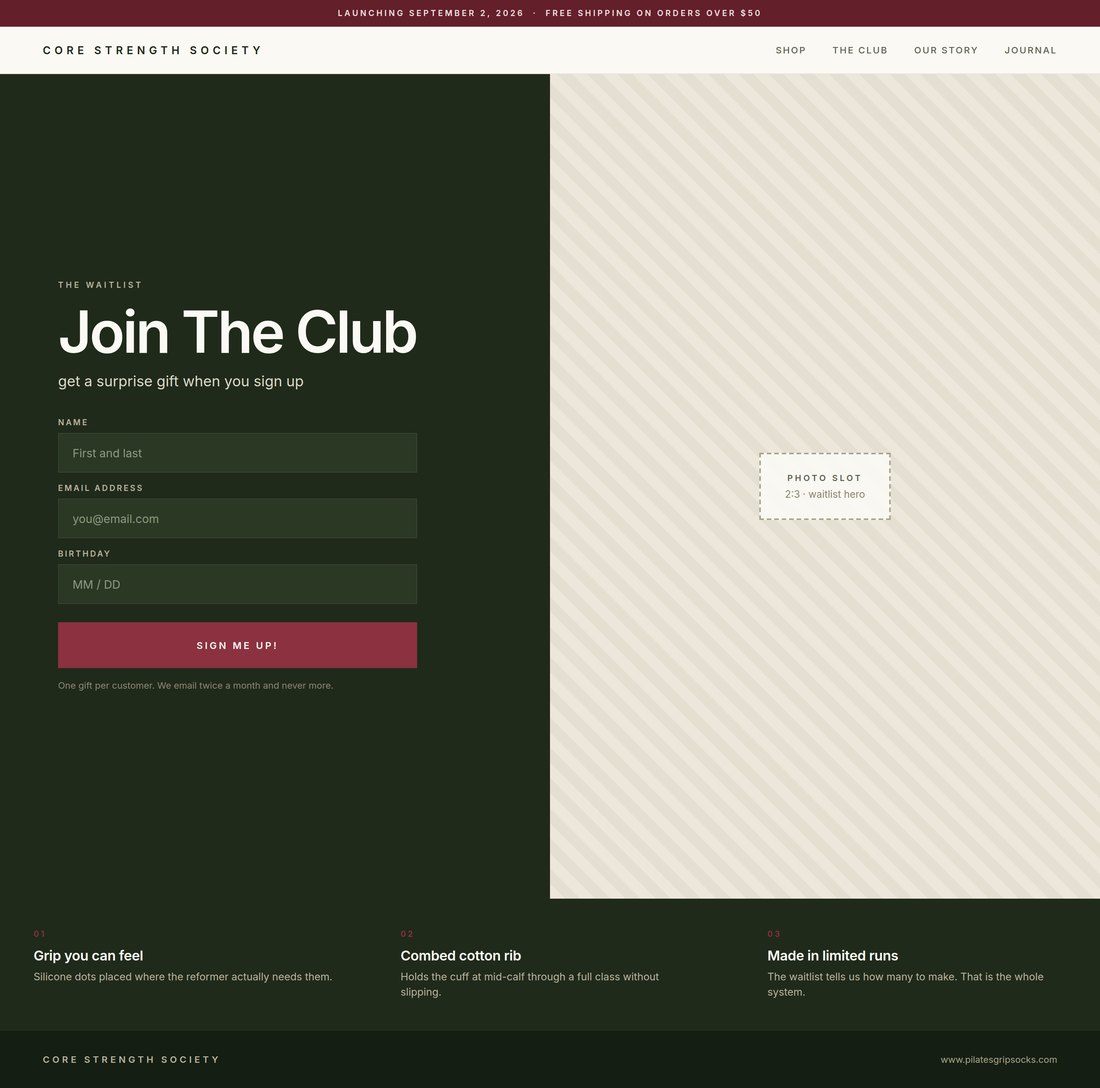
Waitlist, layout stageForm fields and headline approved before a credit is spent.
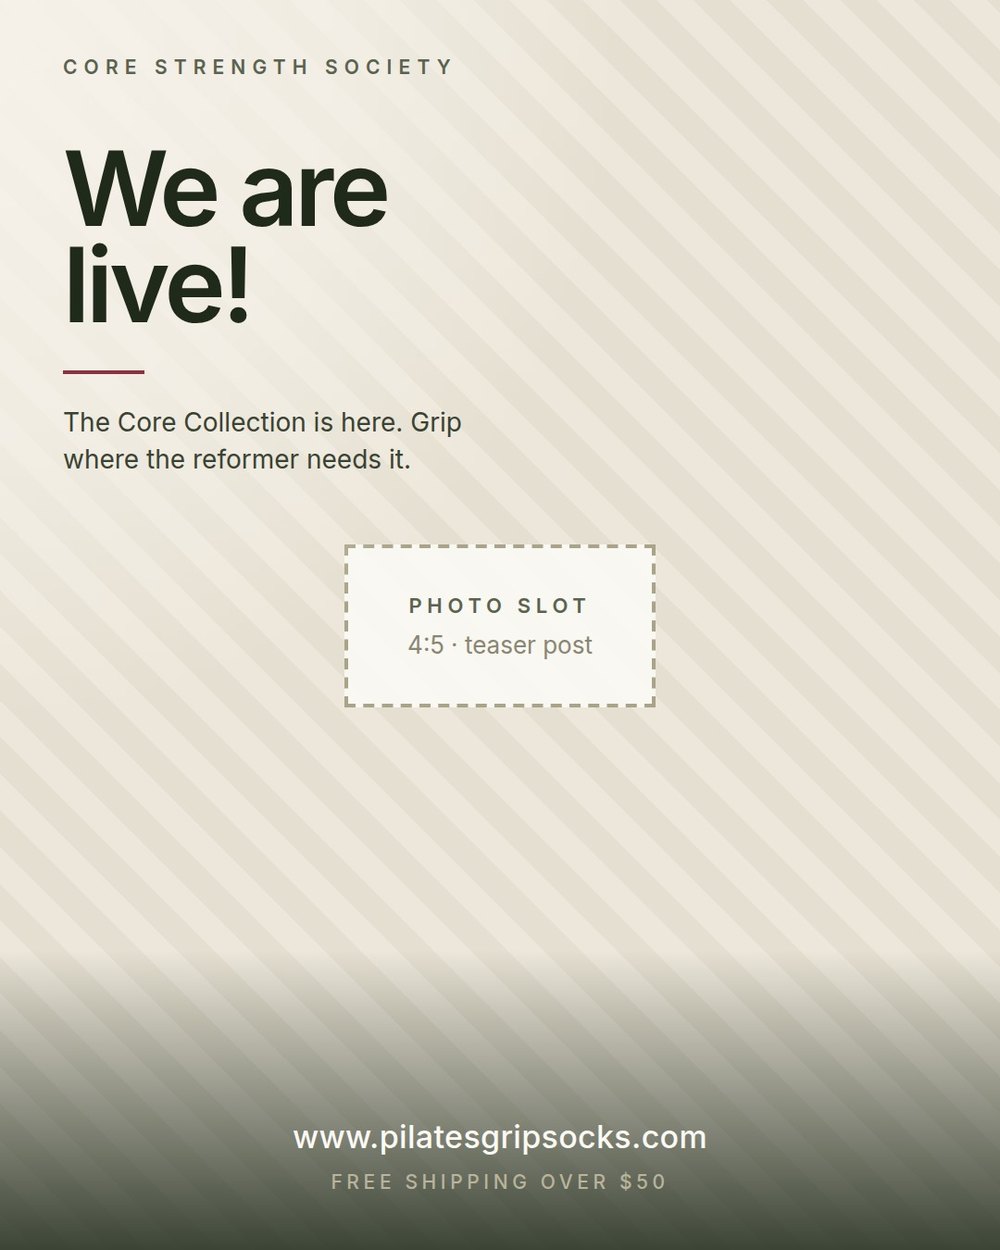
Teaser post, layout stage
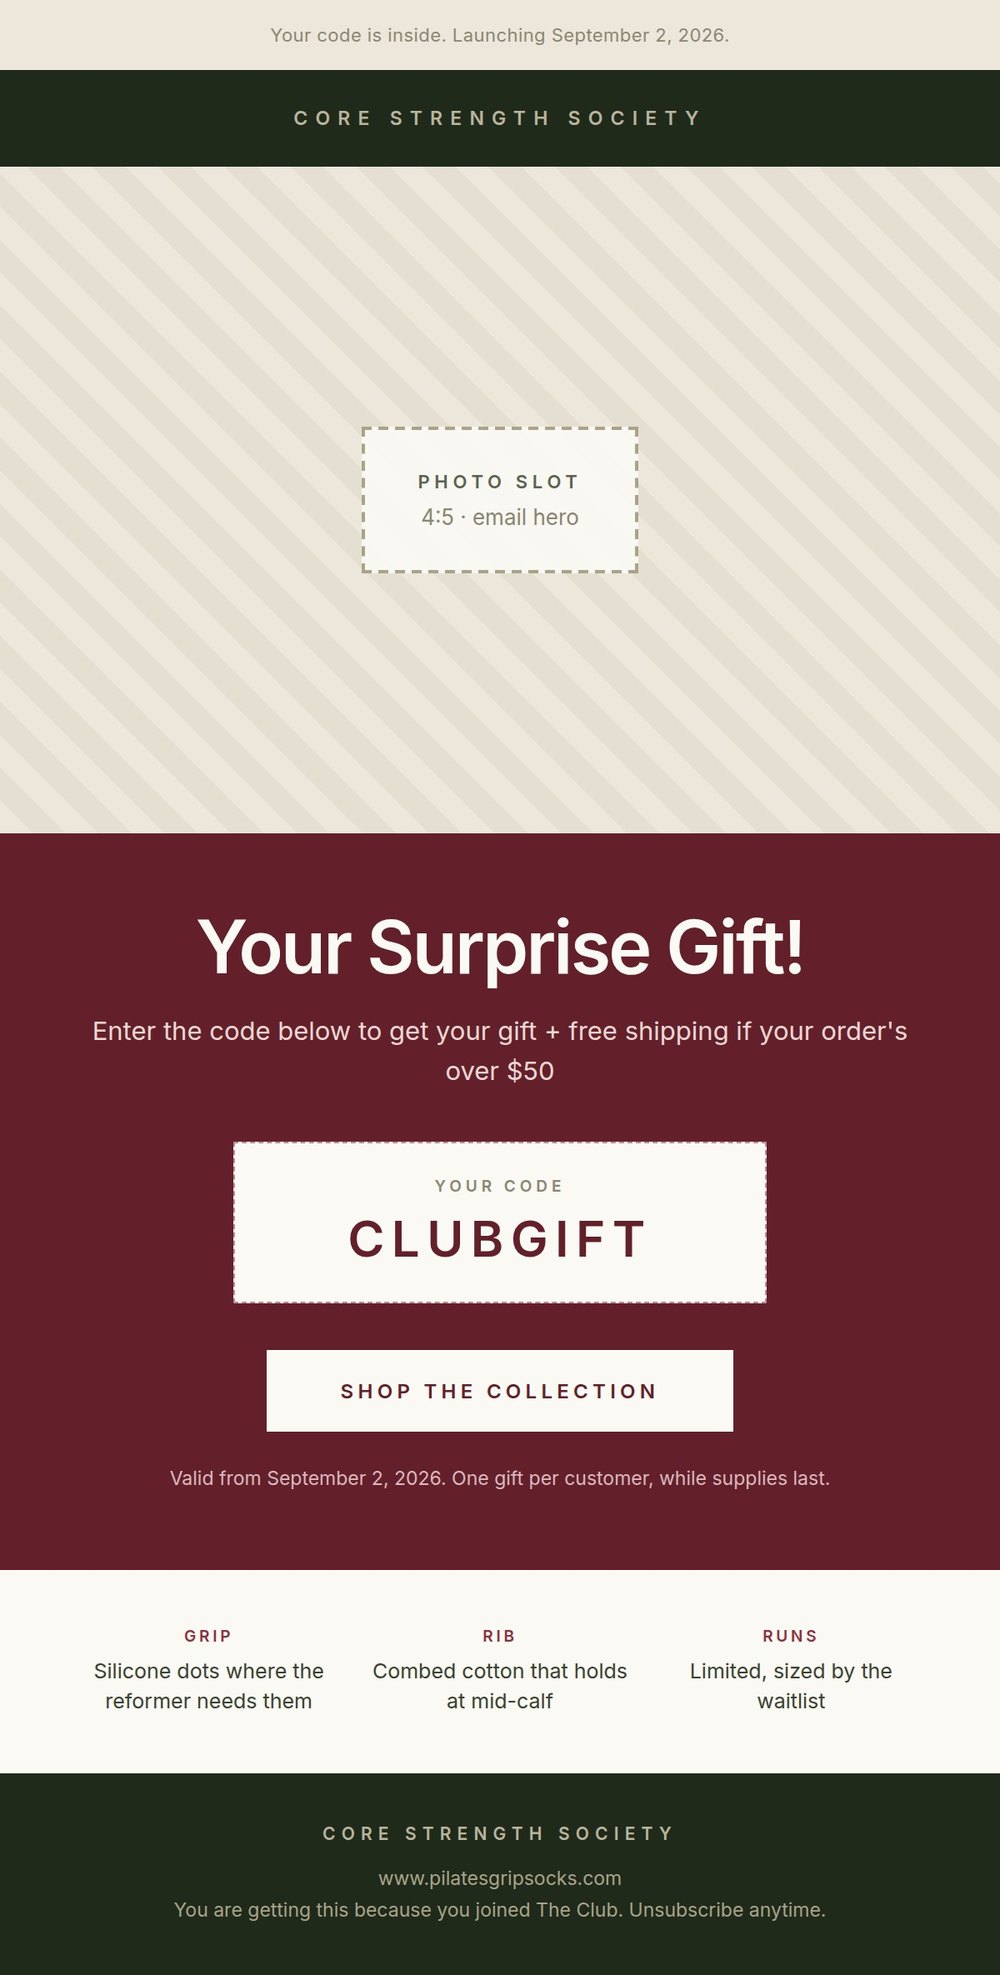
Teaser email, layout stage
Every word in those four is real type set in code. None of it was drawn by an image model. That is deliberate, and it is the single reason the headlines are readable in the finished versions further down.
Step fiveHave Claude write the prompt for each image
One prompt per asset, written from your inspiration image. Do not write these yourself. Claude will describe the pose limb by limb, which is what keeps the anatomy intact.
Write the image prompt for the [asset], following [inspiration file]. Describe the pose one limb at a time. Show me the prompt before running it.
What comes back looks like the template in the next section. Read it before it runs. A prompt is far cheaper to fix than a generation.
Step sixRun the prompt on Higgsfield
One image per asset. Roughly one credit each. Attach both of your product references to every single call, not just the first one in the session.
Run it on Higgsfield with both of my product photos attached as references. Preflight the cost first and tell me the number before you spend anything.
Step sevenHave Claude lay it out
The photographs drop into layouts you already signed off, so there is nothing left to negotiate. You get finished files.
Drop each image into its approved layout and give me the finished files at full resolution.
The prompt template
This is the whole thing. Replace every bracket and delete nothing else. The order of the blocks matters more than the exact wording.
Why is the prompt built like that?
Five rules are doing almost all of the work. They are worth understanding rather than copying, because they apply to any product, not just this one.
- Trace each limb separately. Give every arm and leg its own line, from where it enters the frame to where it ends. Say "legs crossed" and the model resolves the ambiguity by adding a third foot.
- Tell it to count. "Count them: there are two, no more." Blunt, and it holds where a polite description does not.
- Name the surfaces it must avoid. Saying where a detail goes is half the instruction. Listing the three or four places it must not go is the half that actually works.
- Give every negative a reason. "That side carries none because it faces away from the camera" survives. "That side should not have it" gets dropped.
- Never ask for lettering. No headlines, no logos, no woven labels, no embroidery. Generate the surface clean and place your real mark on top in code, where it is free to change.
That last one is broader than it sounds. Most people learn it about headlines and then ask an image model to render a logo anyway. Embroidery is type. So is a woven label, a debossed cap, a printed care tag. If it is lettering, it does not go in the prompt.
What comes out the other end
Four assets. Everything below started as that flat supplier photograph at the top of this page.
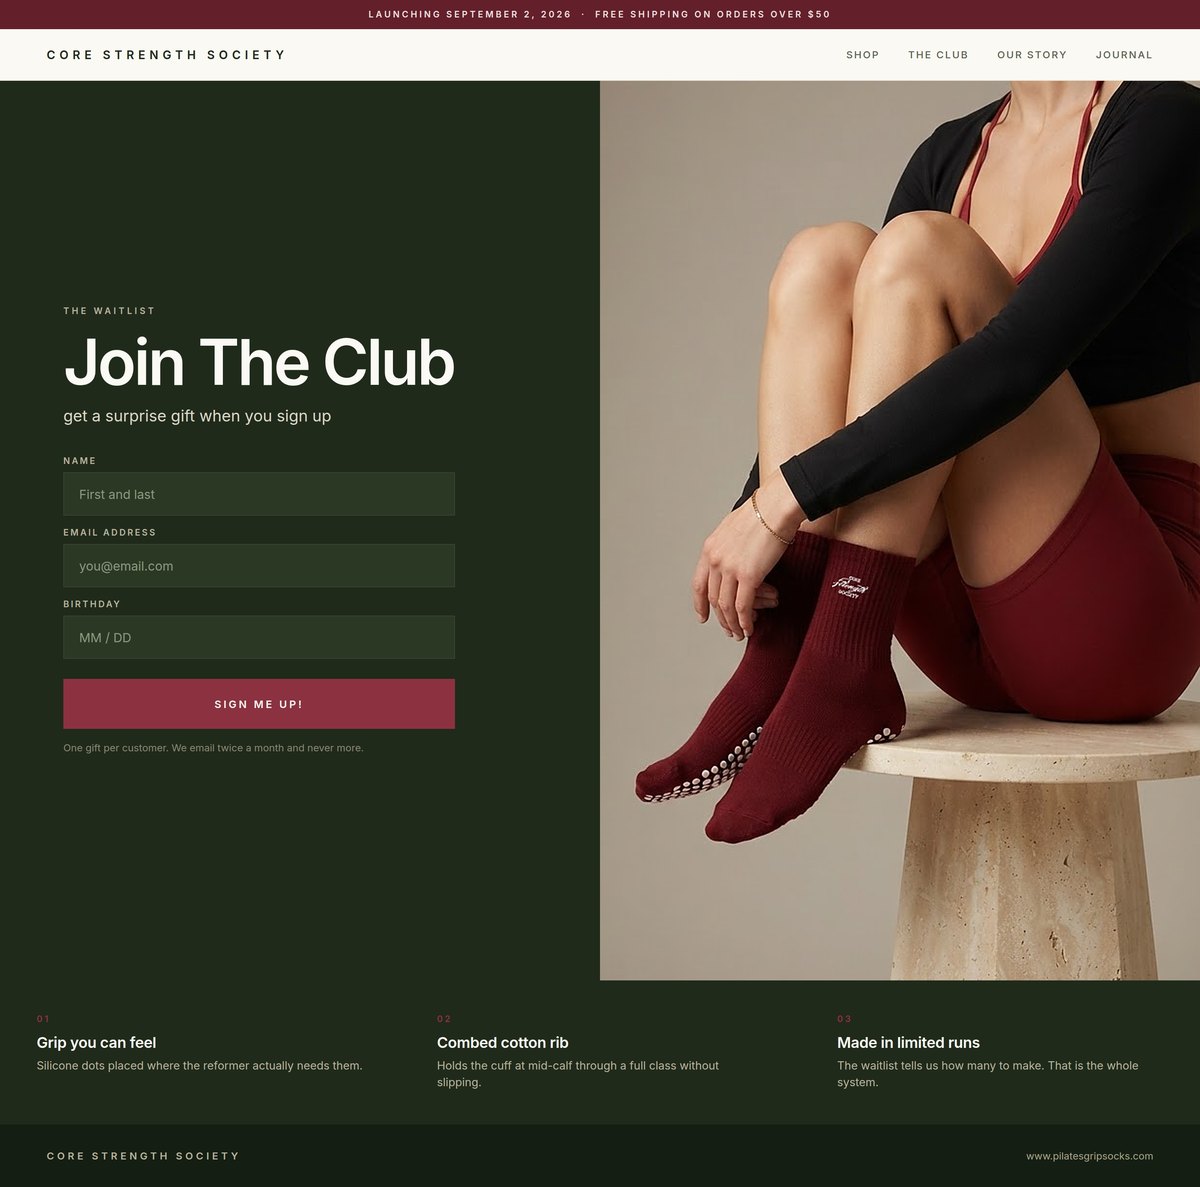
Waitlist pageCopy panel left, photograph right, sign up fields set as real type.
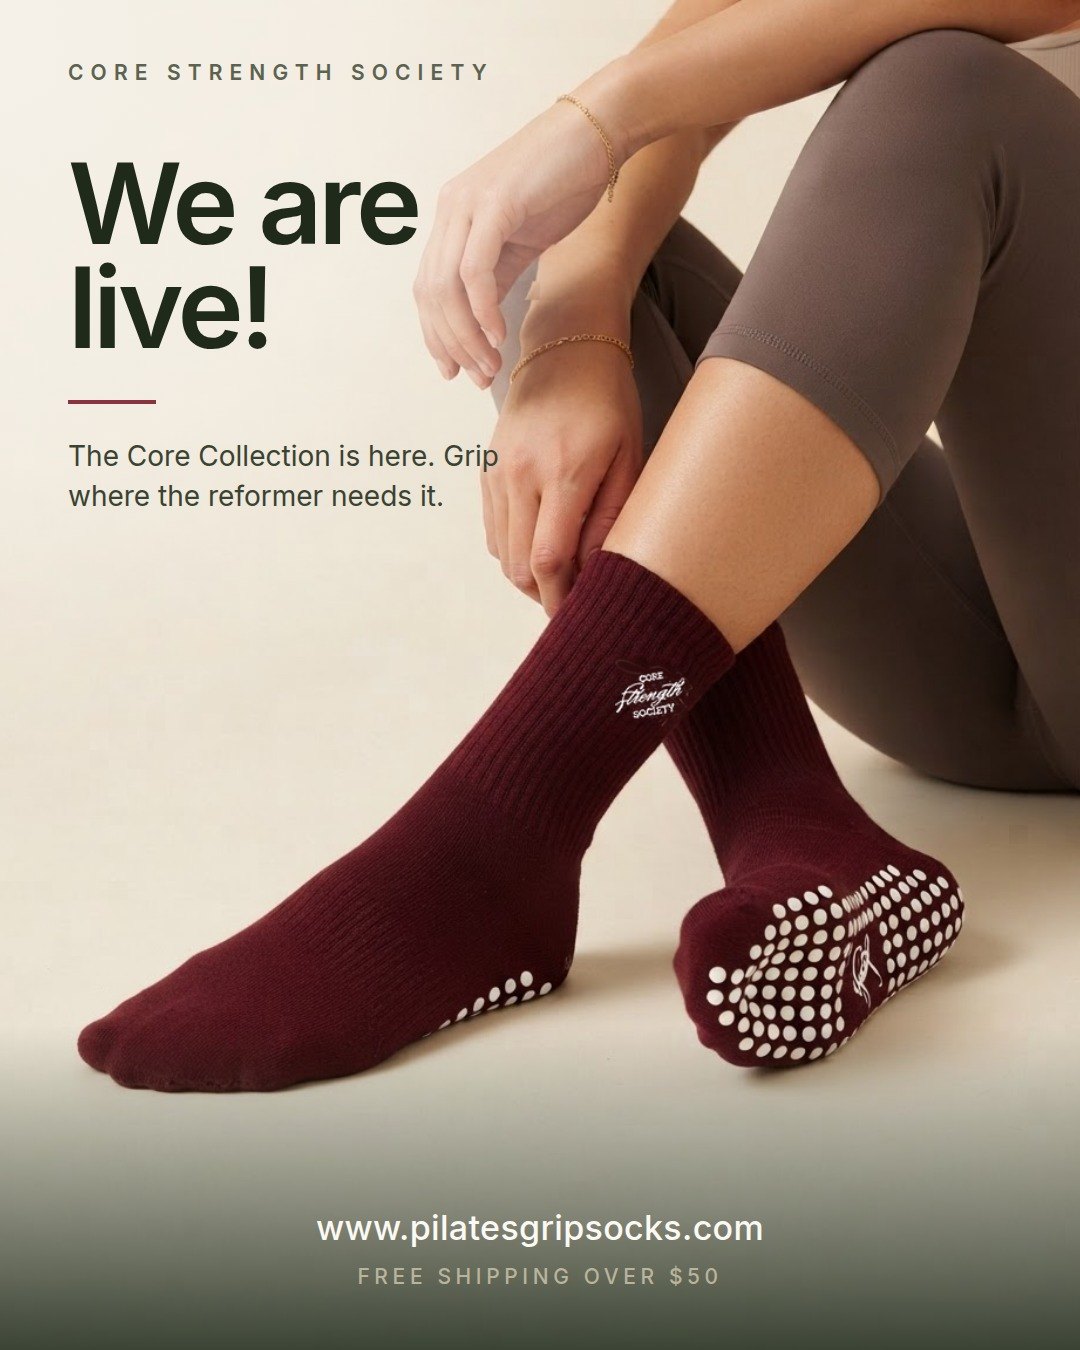
Teaser postOne sole to camera for the grips, one outer side for the logo.
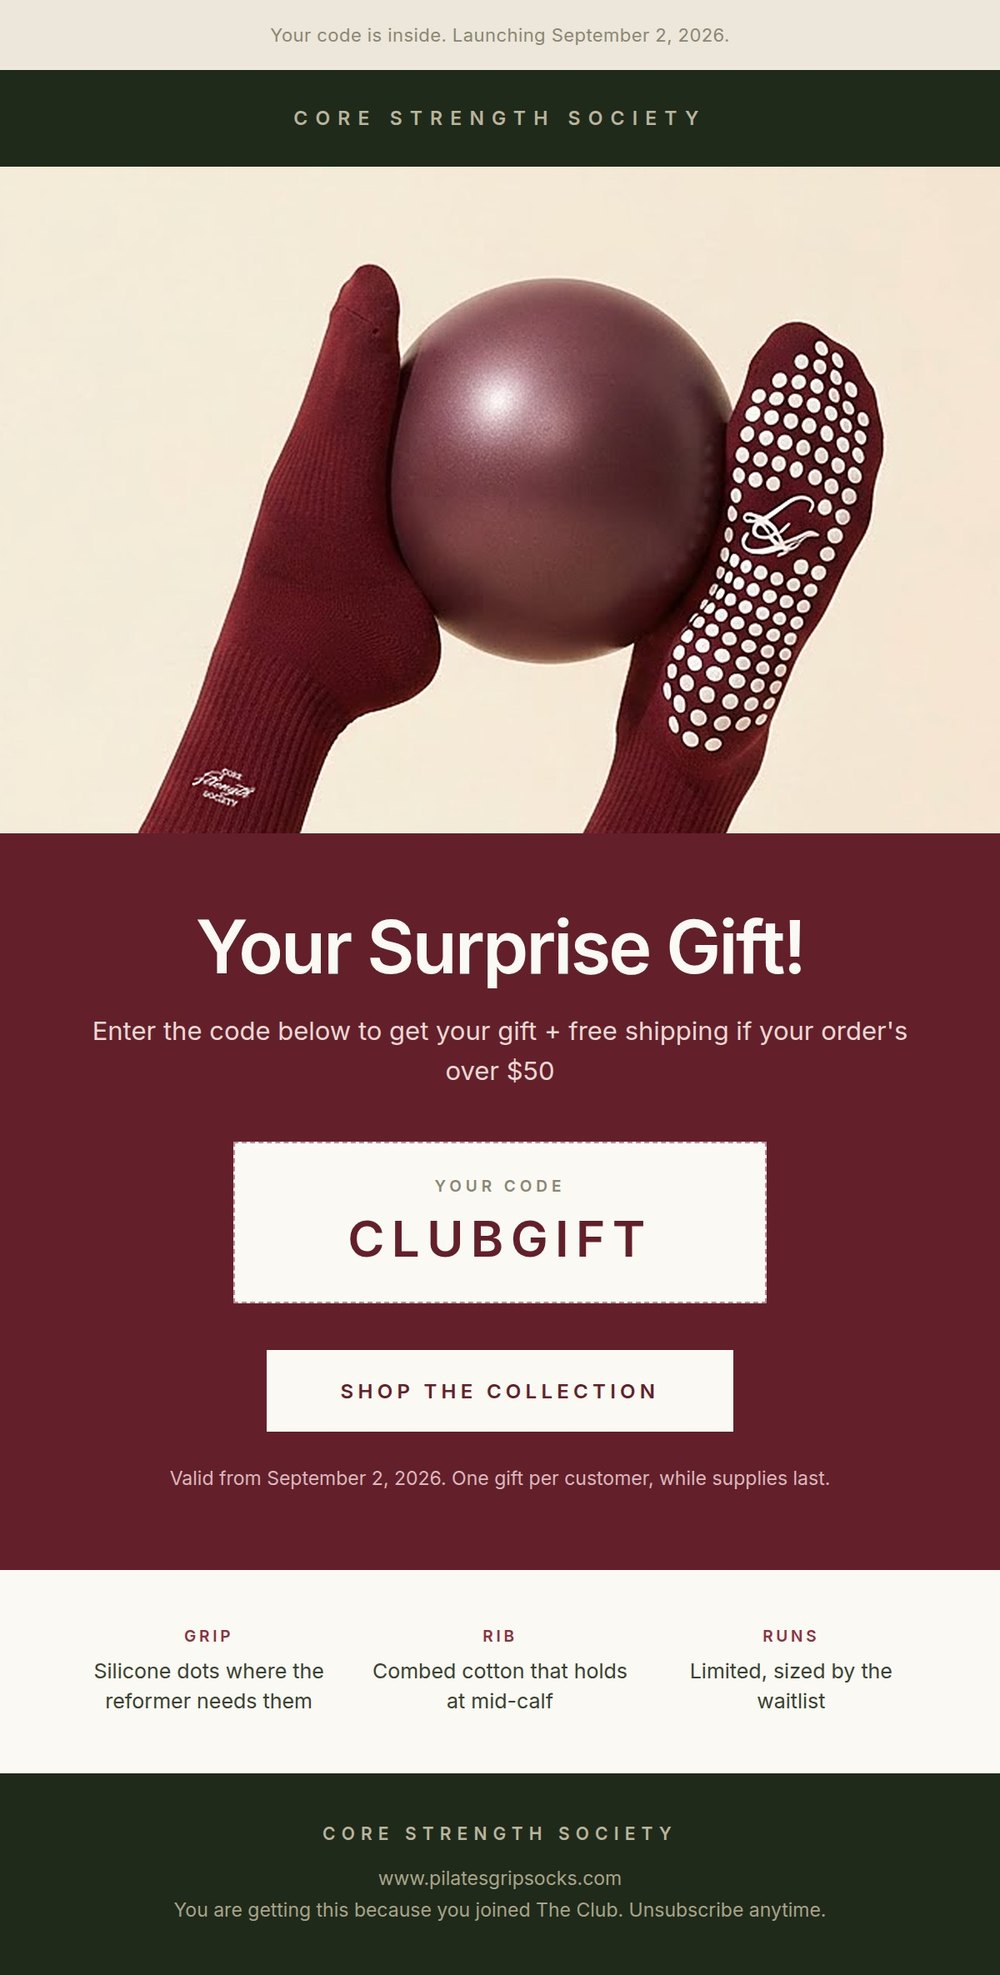
Teaser emailThe discount code is real type, so it is readable and free to change.
Before and afterThe banner at step four, next to the finished version at the top of this page.
One rule holds across all four, and it is the difference between assets that look shot and assets that look generated. A detail only appears where it would actually be visible. The grip pattern shows on the sock whose sole faces the camera. The logo shows on the sock whose outer side faces the camera. Never both on one foot, because that is not how a real sock works.
Apply the same logic to whatever you sell. A label faces one way. A zip sits on one side. A spout points somewhere. Write that into the prompt and the result stops reading as AI, because the thing that gives AI away is not the lighting. It is a detail in a place a real object could not put it.
What this costs and what it replaces
Around five image credits for the clean path. The layouts, the copy and the prompt writing add nothing, because those are built in code rather than generated.
What it replaces is a photoshoot you cannot book yet, for a product you do not have, in a week you do not have spare. And it means the day your stock lands you are not making assets. You are selling.
One honest limit, and you should say it out loud in your own content too. AI can make the photograph. It cannot make the product. Anything a customer could measure, count or compare when the box arrives has to be true in the image. That is why the two reference photographs at the top of this page are not optional.
Can you make marketing assets before the product arrives?
Yes, and the photo your factory already emailed is enough to start. A flat, badly lit supplier shot carries everything the model needs to know about colour, construction and proportion. What it cannot carry is any surface the camera did not see, so you add one phone photo of the hidden side, usually the underside or the lining. From those two references you can produce a campaign banner, a waitlist page, a teaser post and a teaser email while the stock is still on a boat.
Why does AI keep changing my product?
Because it was asked to invent a surface it has never seen. If a detail matters and it does not appear in a reference image, the model fills the gap with something plausible and wrong. Attach every reference to every call, not just the first one, and name in the prompt exactly which surface each detail belongs on and which surfaces it must never appear on. A grip pattern belongs on a sole and nowhere else. Saying that out loud is what stops it migrating onto the top of the foot.
Why does the text come back garbled in AI images?
Because image models cannot spell. They hold a short wordmark reasonably well and scramble anything longer, and that includes embroidery, woven labels and printed care tags, not just headlines. Generate the photograph with no lettering in it at all, then have Claude set your headline as real type in code and place your real logo on top from your own photograph. The copy is then correct by construction and every revision is a text edit rather than another generation.
How do you stop AI adding extra limbs to a lifestyle shot?
Describe the pose one limb at a time, tracing each one from where it enters the frame to where it ends, and say which limb is in front where two of them cross. Vague instructions like legs crossed leave the model to resolve the ambiguity, and it resolves it by adding a third foot. Then state the count as an instruction to count: exactly two feet, count them, there are two, no more. A blunt numeric line holds where a polite description does not.
How much does it cost to build a pre-launch campaign this way?
Around five image credits for the clean path, one photograph per asset plus a little headroom. The layouts, the copy and the prompt writing cost nothing extra because Claude builds them in code. Approving every layout before a single image is generated is what keeps the number that low, since a layout change at that stage is a text edit rather than a regeneration.